
Transform strokes, corners and patterns
This guide covers the settings that decide what changes with an object when you transform it: Scale Strokes & Effects, Scale Corners, Transform Pattern Tiles, the Transform Objects and Transform Patterns checkboxes in the transform dialogs, the Transform panel menu, the backtick key with the Selection tool, and Reset Bounding Box.
Shortcuts are written for Windows and Linux first, then macOS.
By default, a transform changes only the object’s geometry:
| Setting | Off (default) | On |
|---|---|---|
| Scale Strokes & Effects | Stroke weights and effect distances stay the same | Stroke weights, dashes and effect distances scale with the object |
| Scale Corners | Live corner radii stay the same | Live corner radii scale with the object |
| Transform Pattern Tiles | Pattern fills and strokes stay where they are while the object moves over them | Pattern tiles move, scale and turn with the object |
All three settings are on the General page of Preferences. Open Preferences with Edit → Preferences… (Ctrl+K), or on macOS with VectorCraft → Settings → General… (Cmd+K). See Preferences.
Scale strokes and effects with an object
Section titled “Scale strokes and effects with an object”When Scale Strokes & Effects is on, a scale also changes:
- stroke weights;
- dash lengths and dash offsets;
- the distances in the effects on the object and on its fills and strokes, for example the offset of a drop shadow.
These values scale by the square root of the horizontal scale times the vertical scale. A uniform scale to 50% turns a 6 pt stroke into a 3 pt stroke. A scale of 200% wide by 50% high leaves the stroke weight at 6 pt. When the setting is off, the 6 pt stroke stays 6 pt at any size, and type keeps the weight of its character strokes.
To scale an object and its strokes by an exact amount:
- Select the object with the Selection tool (V). See Select and move objects.
- Choose Object → Transform → Scale….
- Type a value in Horizontal %. With Uniform checked, the vertical scale follows it.
- Check Scale Strokes & Effects. Check Scale Corners as well to scale live corner radii.
- Check Preview to see the result on the canvas before you confirm it.
- Click OK.
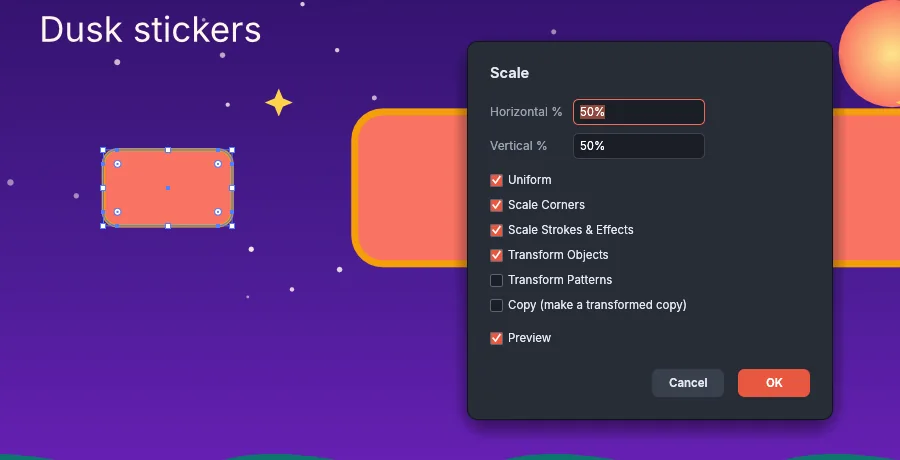
The Scale and Transform Each dialogs open with Scale Strokes & Effects and Scale Corners set from the preferences. When you click OK, or Copy in Transform Each, the dialog saves both checkboxes back as the preferences, so the next drag with the Selection tool scales the same way.
You can change Scale Strokes & Effects in each of these places:
| Place | Control |
|---|---|
| Preferences, General page | Scale Strokes & Effects checkbox |
| Transform panel (Window → Transform, Shift+F8) | Scale Strokes & Effects checkbox below the fields, and the item of the same name in the panel menu |
| Properties panel, Transform section | More Options (…) button, then Scale Strokes & Effects |
| Properties panel with nothing selected | Scale Strokes & Effects in the Preferences section |
| Object → Transform → Scale… | Scale Strokes & Effects checkbox |
| Object → Transform → Transform Each… | Scale Strokes & Effects checkbox under Options |
Every one of these controls changes the same preference.
Scale corner radii
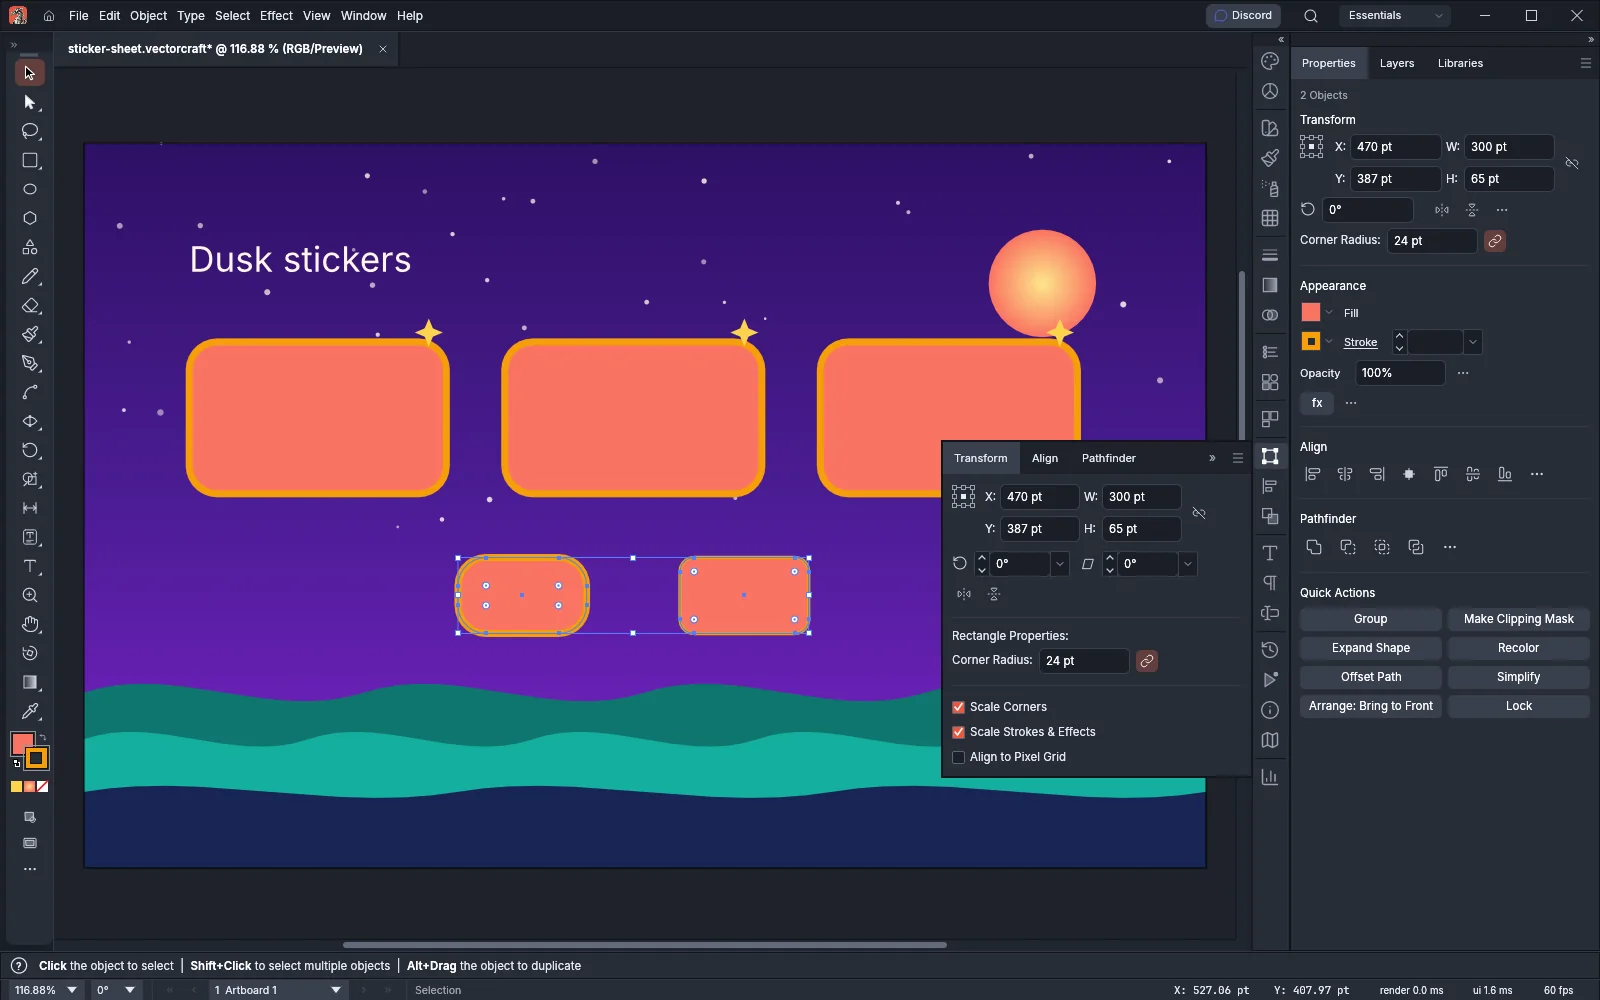
Section titled “Scale corner radii”Scale Corners sets whether live corners, such as the Corner Radius of a rectangle, scale with the object. When it is off, the radius keeps its value, so a badge that you scale down looks rounder. When it is on, the radius scales by the same factor as strokes.
You can change Scale Corners on the General page of Preferences, with the Scale Corners checkbox in the Transform panel, under More Options (…) in the Transform section of the Properties panel, and in the Scale and Transform Each dialogs.
Transform patterns with the object or alone
Section titled “Transform patterns with the object or alone”An object filled or stroked with a pattern swatch has two parts that can move separately: the object’s shape and the pattern tiles inside it. See Make patterns, blends and repeats to make a pattern swatch, and Fill, stroke and color to apply one.
The Transform Pattern Tiles preference sets what a transform does by default. It is off, so the tiles stay where they are when you move, scale or rotate the object.
The Move, Rotate, Reflect, Scale, Shear and Transform Each dialogs each have two checkboxes:
| Checkbox | Starts as | When checked |
|---|---|---|
| Transform Objects | Checked | The object’s shape transforms |
| Transform Patterns | The Transform Pattern Tiles preference | Pattern fills and strokes transform with it |
To rotate only the pattern inside an object:
- Select the object.
- Choose Object → Transform → Rotate….
- Type an Angle.
- Clear Transform Objects and check Transform Patterns.
- Check Preview to see the tiles turn while the shape stays still.
- Click OK.
The other dialogs work the same way: clear Transform Objects and check Transform Patterns to move, scale, reflect or shear only the tiles.
When you click OK in the Move dialog, its Transform Patterns choice becomes the Transform Pattern Tiles preference. The Move dialog also opens with Copy, Transform Objects and Preview as you last confirmed them. Rotate, Reflect, Scale and Shear open with Preview off and do not change the preference. Transform Each remembers Transform Objects, and its Transform Patterns starts from the preference each time it opens.
Choose what the Transform panel changes
Section titled “Choose what the Transform panel changes”The Transform panel menu sets what the panel’s fields and flip buttons change.
- Open the Transform panel with Window → Transform (Shift+F8).
- Click the panel menu button at the top right of the panel.
- Choose one of the three items in the middle group.
| Menu item | A change in the panel transforms |
|---|---|
| Transform Object Only | The object. Its pattern fills and strokes stay as they are. |
| Transform Pattern Only | The pattern tiles alone. The object keeps its shape and place. |
| Transform Both | The object and its pattern tiles. |
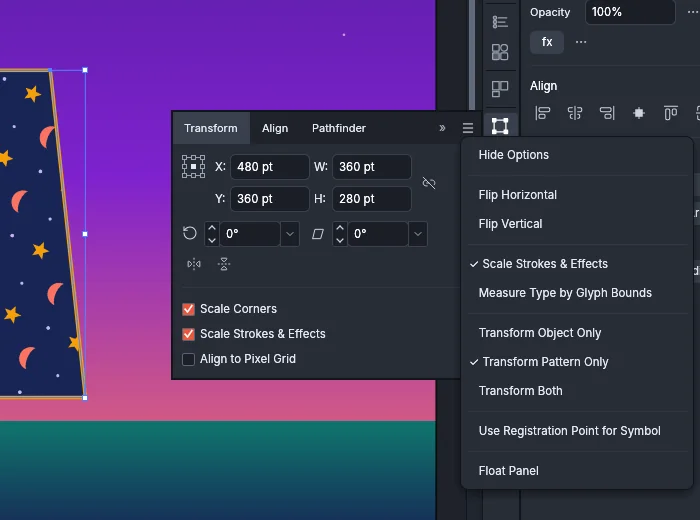
Until you choose one, the panel follows the Transform Pattern Tiles preference. The menu then shows a check mark next to Transform Both when the preference is on, and next to Transform Object Only when it is off. The choice also applies to the Transform section of the Properties panel, and it stays set until you choose another item.
Move, scale or rotate only the pattern with the Selection tool (backtick)
Section titled “Move, scale or rotate only the pattern with the Selection tool (backtick)”Hold the backtick key (`) while you drag with the Selection tool to change only the pattern tiles. On a US keyboard the key is to the left of 1.
- Press V to choose the Selection tool, and select an object filled or stroked with a pattern.
- Press and hold the backtick key.
- Drag:
- inside the object to move the tiles;
- a handle of the bounding box to scale the tiles;
- from just outside a corner of the bounding box to rotate the tiles. Hold Shift as well to rotate in 45° steps.
- Release the mouse button while you still hold the backtick key, then release the key.
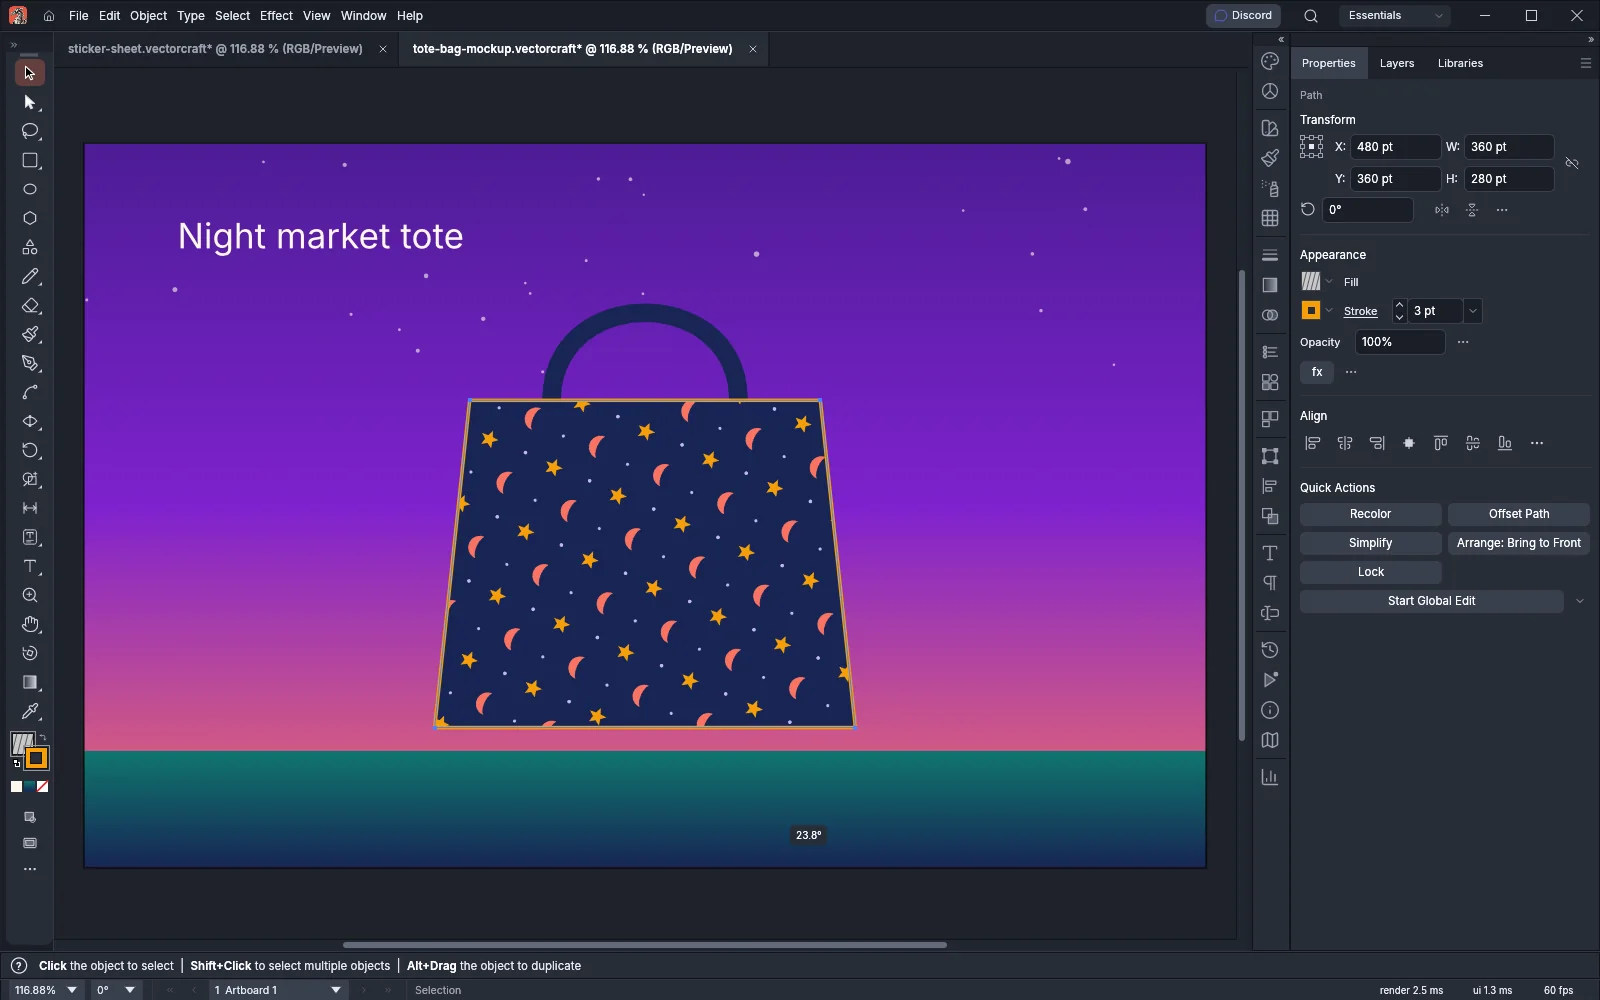
VectorCraft changes only the tiles when the backtick key is still down as you release the mouse button. If you press or release the backtick key part way through a drag, the preview switches at once between moving the tiles and moving the object.
Square the bounding box again
Section titled “Square the bounding box again”After you rotate an object, its bounding box stays at the object’s angle, and the side handles scale it along its own width and height. To square the bounding box to the page again:
- Select the rotated objects.
- Choose Object → Transform → Reset Bounding Box. The same command is in the Transform submenu of the canvas context menu.
The objects keep their shape and position. VectorCraft also squares the boxes of every object inside the selection, such as the members of groups, compound paths, clipping groups and blends. The command is one undo step, and it does nothing when no box is rotated. It has no default shortcut.