Workflows
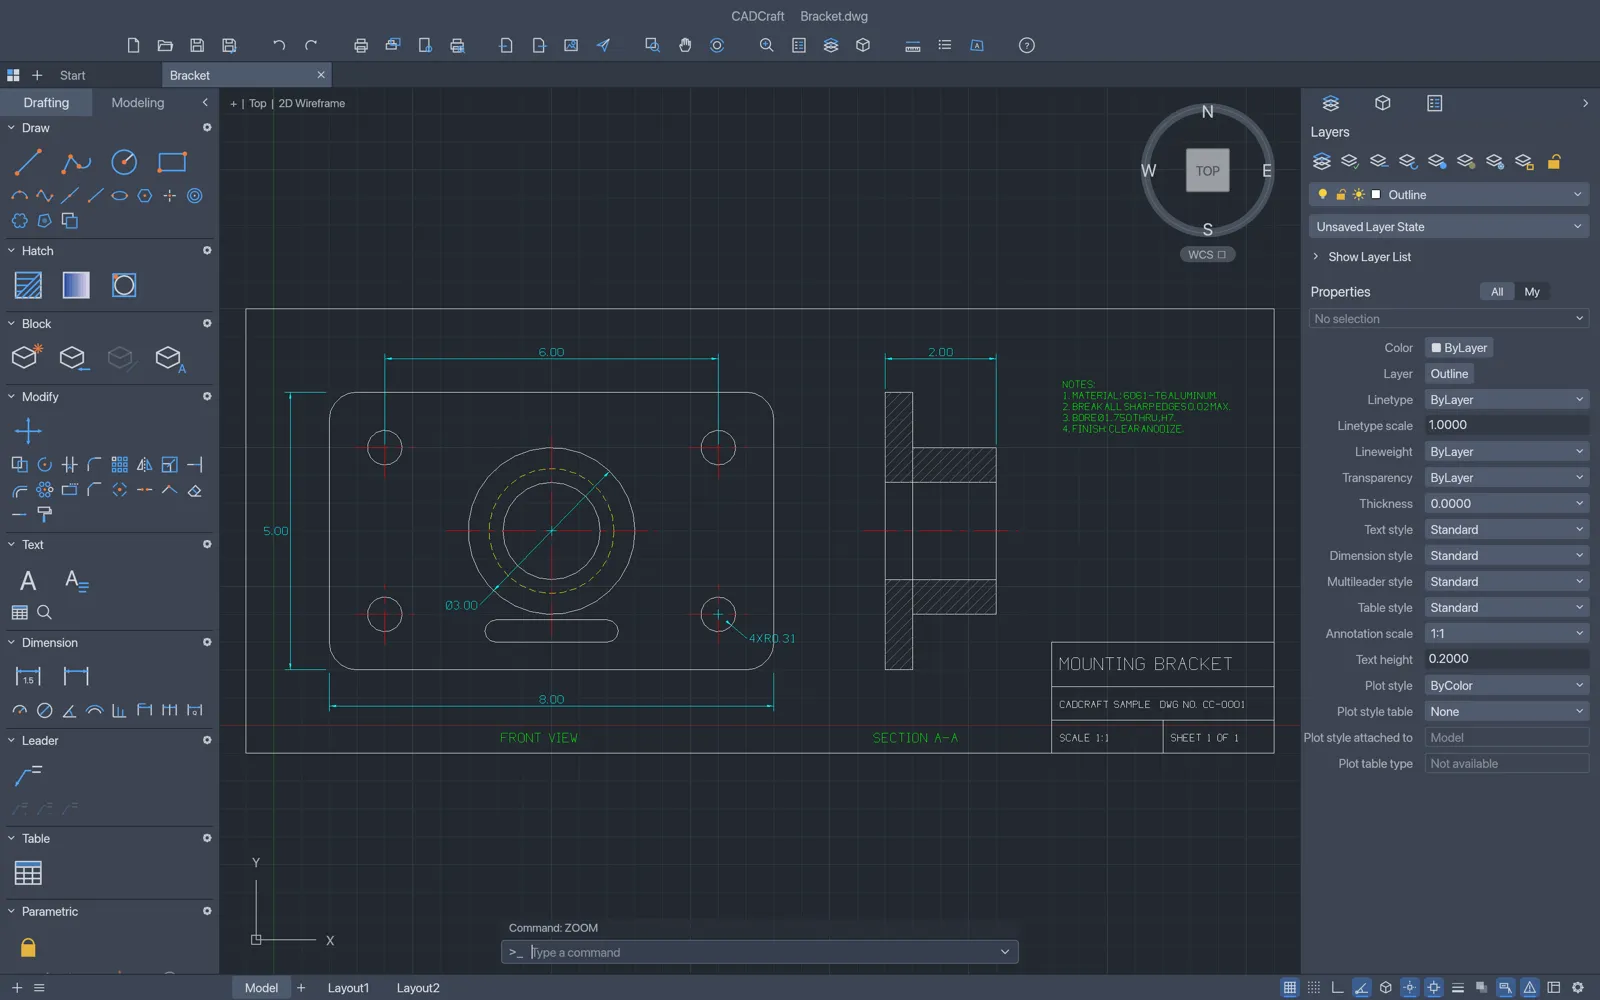
Every tool in CADCraft is a command. You can start one from the menus (File, Edit, View, Insert, Format, Tools, Draw, Dimension, Modify, Window and Help), from Tool Sets, or by typing its name or alias at the command line. F1 opens the command reference, where you can search every command.
Draw precisely
Section titled “Draw precisely”Type coordinates at a prompt, or click in the drawing.
| Type | Means |
|---|---|
3,4 |
The point at X 3, Y 4 |
@10,0 |
10 units along X from the last point |
@5<45 |
5 units at 45 degrees from the last point |
10 |
10 units in the direction the cursor points (direct distance entry) |
The drafting aids are on the status bar, and each has a function key:
| Key | Turns on or off |
|---|---|
| F3 | Object snaps: endpoint, midpoint, center, intersection, tangent, perpendicular and more |
| F7 | Grid |
| F8 | Ortho: lines only horizontal or vertical |
| F9 | Grid snap |
| F10 | Polar tracking |
| F11 | Object snap tracking |
| F12 | Dynamic input at the cursor |
Choose which object snaps are on in Tools › Drafting Settings….
Edit objects
Section titled “Edit objects”The Modify menu has Move, Copy, Rotate, Scale, Mirror, Stretch, Offset, Trim, Extend, Fillet, Chamfer, Break, Join, Explode, Array and more.
- Select objects first and then start a command, or start the command and select when asked.
- Drag from left to right to select objects entirely inside the window. Drag from right to left to also select objects the window crosses.
- Click a selected object’s grip to make it hot, then move the mouse. Press Space or Enter to switch between STRETCH, MOVE, ROTATE, SCALE and MIRROR.
- Modify › Match Properties copies one object’s layer, color and other properties to others.
- Ctrl+Z undoes. Ctrl+Y or Ctrl+Shift+Z redoes.
Use layers and properties
Section titled “Use layers and properties”Layers group objects so you can show, hide, lock and color them together.
- The Layers palette on the right sets the current layer and turns layers on or off, freezes and locks them.
- Format › Layers opens the Layer Properties Manager, for creating layers and setting their color, linetype, lineweight and whether they plot.
- Format › Layer Tools has Isolate Layer, Freeze Layer, Layer Off, Lock Layer, Layer Match, Previous Layer and others.
- The Properties palette (Ctrl+1) shows and edits whatever is selected.
- To save which layers are on, frozen or locked, use the Layer State row of the Layer Properties Manager. Type a name under New state name and click Save State. Later, pick the state and click Restore, or Delete to remove it.
Add text and dimensions
Section titled “Add text and dimensions”- Draw › Text has Single Line Text and Multiline Text…. CADCraft uses the TrueType and OpenType fonts installed on your computer, and has its own single-stroke drafting font.
- The Dimension menu has Linear, Aligned, Angular, Radius, Diameter, Arc Length, Ordinate, Baseline, Continue, Quick Dimension and Multileader. A dimension attached to an object follows it when the object changes.
- Dimension › Dimension Style… sets arrowheads, text and units for dimensions.
- Draw › Table… inserts a table.
Hatch areas
Section titled “Hatch areas”Choose Draw › Hatch… (or type h) to open the hatch dialog. Pick a pattern, a solid fill or, with Draw › Gradient…, a gradient. Then click inside a closed area. CADCraft finds the boundary, and leaves islands inside it unfilled.
Make and insert blocks
Section titled “Make and insert blocks”A block is a group of objects you can place again and again.
- Draw › Block › Make… turns selected objects into a block.
- Draw › Block › Define Attributes… adds a field, such as a part number, that each copy can fill in differently.
- Insert › Block… places a block.
- Tools › Block Editor edits a block’s definition.
Reference other drawings
Section titled “Reference other drawings”An external reference (xref) shows another DWG or DXF file inside your drawing without copying it. When the other file changes, your drawing shows the change after you reload it.
- Choose Insert › DWG Reference… and pick the file.
- Follow the prompts at the command line to place it.
- Choose Window › Reference Manager to see every reference.
The Reference Manager lists each reference’s Status and Saved Path. For the selected one you can Reload, Unload, Detach, Bind and Open. Bind turns it into a block of your drawing, and renames its layers to NAME$0$LAYER. Insert also makes it a block, but keeps the layer names. Type switches it between Attach and Overlay.
CADCraft saves the path as a path relative to your drawing when the file is in the same folder or below it, so you can move the whole project folder. If a reference shows Not Found, fix its path in the Saved Path box and click Apply.
Tools › Open Xref opens the file behind a reference so you can edit it.
CADCraft can’t show PDF, DWF or DGN files as underlays.
Find and select objects
Section titled “Find and select objects”- Edit › Quick Select… selects objects by type and property. Set Apply to to the Entire drawing or the Current selection, then choose an Object type, a property, an operator and a value. Choose Include in new selection set or Exclude from new selection set. Select Append to current selection set to add to what’s already selected.
- Edit › Find… (Ctrl+F) finds text in the current space. Find All lists every match, Select All selects those objects, and Replace or Replace All changes the text. Use Match case and Whole words to narrow it.
- Tools › Group turns selected objects into a group that you can select as one. Tools › Ungroup takes it apart.
- Tools › Count counts blocks in the drawing.
Clean up a drawing
Section titled “Clean up a drawing”Type purge to remove things the drawing doesn’t use: blocks, layers, linetypes, text and dimension styles, groups, zero-length lines and empty text. It asks which type to remove and which names, and can ask you to confirm each one. Purge before you send a drawing to someone, to make the file smaller.
Constrain geometry
Section titled “Constrain geometry”Tools › Parametric has geometric constraints (such as parallel, perpendicular and tangent) and dimensional constraints (fixed lengths and angles). AutoConstrain adds geometric constraints for you. Parameters Manager lists dimensional constraints, and lets you set them with expressions. Constraints are worked out again after every edit.
Lay out sheets and plot
Section titled “Lay out sheets and plot”Model space is where you draw, at full size. A layout is a sheet of paper with one or more viewports looking into model space at a scale.
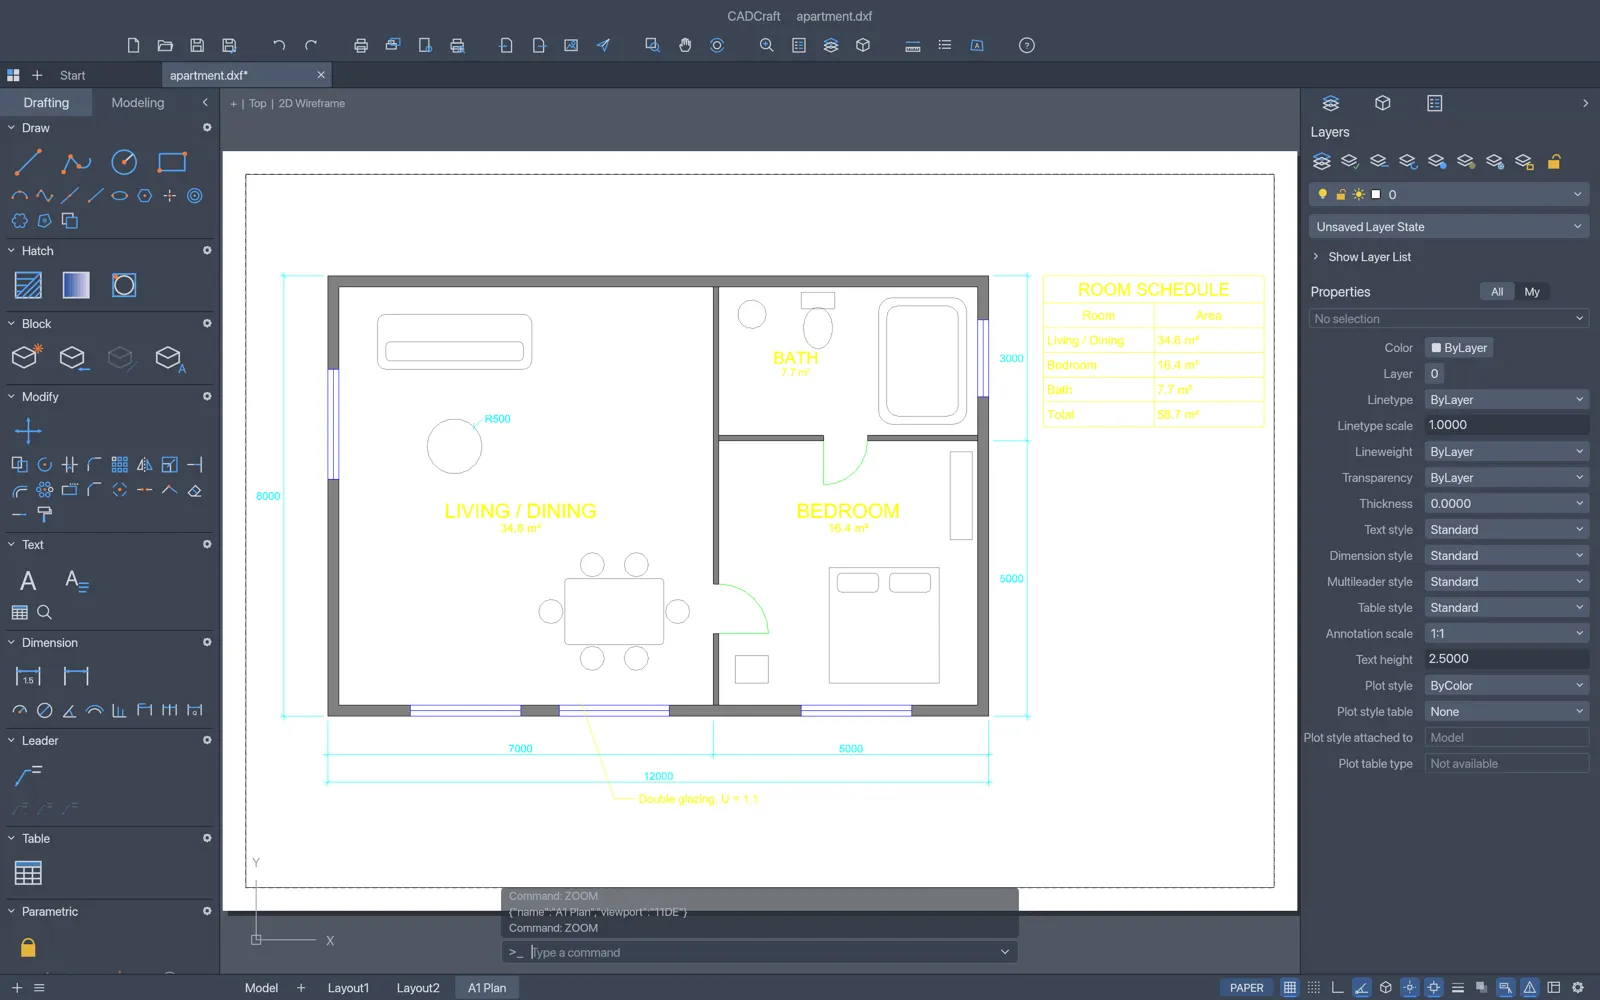
- Click a layout tab, such as Layout1, on the status bar. + adds a new one.
- Type
mview(ormv) and drag a rectangle to add a viewport. - Double-click inside a viewport to work in model space through it. Click PAPER or MODEL on the status bar to switch between the two.
- File › Page Setup Manager… sets the paper size and plot settings for the layout. See Print.
- File › Print… (Ctrl+P) opens the Plot dialog. File › Export to PDF… saves a PDF right away.
In CAD, printing is called plotting. File › Print… (Ctrl+P, ⌘P on a Mac) opens the Plot dialog.
Plot a drawing
Section titled “Plot a drawing”- Open the layout you want to plot, or stay in model space.
- Choose File › Print….
- Pick a Printer/plotter, a Paper size and the other options below.
- Click Preview to check the sheet, then Close to go back.
- Click OK and choose where to save the file.
The file is named after the drawing and the layout, such as Drawing-Layout1.pdf, and its type follows the device you picked.
File › Export to PDF… skips the dialog and plots the current page setup straight to a PDF.
Plot options
Section titled “Plot options”| Option | What it does |
|---|---|
| Printer/plotter | CADCraft PDF, CADCraft PNG or CADCraft SVG writes that file type. None writes a PDF on any standard paper size. Devices you make in the Plotter Manager are listed too. |
| Paper size | The sizes the device offers. |
| Orientation | Portrait or Landscape. |
| Plot area | A layout always plots the whole sheet. In model space, choose Extents, Display, Limits or Window. |
| Fit to paper | Scales the drawing to fill the sheet. |
| Scale | Model space only. Type a ratio such as 1:50. Turn off Fit to paper first. |
| Center the plot | Model space only. Turn it off to place the drawing with X offset (mm) and Y offset (mm) instead. |
| Plot object lineweights, Plot transparency | Keep lineweights and transparency on paper. |
| Plot style table | Changes how colors and lines print (see Plot styles). None prints the colors as they are. |
To plot part of model space, set Plot area to Window, click Window < and pick two corners in the drawing.
In a layout, Apply to Layout keeps your choices for next time.
Page Setup Manager
Section titled “Page Setup Manager”File › Page Setup Manager… saves plot settings for each layout, so Ctrl+P starts from them. Pick a layout in the list and change its settings. Changes are saved as you make them. This is also where you set Scale and Center the plot for a layout.
Plot styles
Section titled “Plot styles”A plot style table changes how objects print: their color, grayscale, screening, linetype and lineweight. The built-in tables are default.ctb, monochrome.ctb (everything prints black), grayscale.ctb, default.stb and monochrome.stb.
- Color-dependent (
.ctb) tables style objects by their color. - Named (
.stb) tables style objects by a plot style name. Set it with Format › Plot Style…, or on the layer.
To make your own, open File › Plot Styles…, pick a table and choose Copy, New CTB or New STB. Then edit each style’s Color, Grayscale, Screening, Linetype and Lineweight. Use for this layout applies the table to the open layout, and Display plot styles shows the result on screen.
Plot style tables are saved in the drawing. CADCraft can’t read AutoCAD’s .ctb, .stb or .pc3 files yet (#2752).
Plotter Manager
Section titled “Plotter Manager”File › Plotter Manager… runs at the command line. Choose New to make a device that writes PDF, PNG or SVG, then Paper to add custom paper sizes to it, in millimeters. ? lists your devices and Delete removes one. The built-in devices can’t be changed.
Your devices are saved in the plotters folder: %APPDATA%\CADCraft\plotters on Windows, ~/Library/Application Support/CADCraft/plotters on a Mac and ~/.config/cadcraft/plotters on Linux.
Plot every sheet at once
Section titled “Plot every sheet at once”File › Batch Publish… plots model space and every layout, each to its own PDF. Name the set, such as set.pdf, and the files are called set-<sheet>.pdf.
Preview and sheet books
Section titled “Preview and sheet books”File › Plot Preview shows the current layout as it will plot. Click Print… to go back to the Plot dialog, or Close to leave.
File › Sheet Books to PDF… is for a model-space drawing that holds many sheets side by side, each inside a closed polyline frame 297 mm high. Frames in one row become the pages of one PDF, left to right, and each row becomes its own PDF. Each page uses the standard A-series paper its frame matches. Save the drawing first: the PDFs are written next to it.
Combine and compare drawings
Section titled “Combine and compare drawings”Import another drawing
Section titled “Import another drawing”File › Import… adds the objects of another DXF or DWG file to the open drawing. Pick the file. The objects arrive at the drawing’s origin (0,0) at their original size, along with the layers, styles and blocks they use. Move them where you need them afterward.
To open a file as its own drawing instead, use File › Open….
Compare two drawings
Section titled “Compare two drawings”Tools › Compare Drawings… shows what changed between two versions of a drawing.
- Open one version of the drawing.
- Choose Tools › Compare Drawings….
- At the command line, type the name of another open drawing, or the path to the other file.
The command line reports how many objects are only in your drawing, only in the other one, changed, and the same. CADCraft marks the differences in the drawing. Use the ◀ and ▶ buttons that appear over it to jump to the previous and next change. Click × (Close Comparison) when you’re done.
Measure
Section titled “Measure”Tools › Inquiry has Distance, Area, Radius, Angle, ID Point and List. The answer appears on the command line. For quick sums, Window › QuickCalc opens a calculator.
Change how CADCraft looks
Section titled “Change how CADCraft looks”- View › Interface Theme: Light, Dark or Use System Setting.
- Edit › Interface Language: choose one of 19 languages, or Auto to follow your system. Some languages need a font for their script installed on your computer.
- The Window menu shows or hides Tool Sets, the Command Line, the Status Bar and the palettes. Drag a palette’s header to move it. Window › Reset Panel Layout puts everything back.
- View › Accessibility › Animation Effects turns interface animations on or off, or follows your system. Show System Cursor is in the same menu.
- Tools › Options… has the rest. See Options.
Options
Section titled “Options”Tools › Options… has six tabs. Changes apply at once and are kept for next time.
| Tab | What you can set |
|---|---|
| Display | Interface theme, Interface scale, Model background and Crosshair size |
| Open and Save | The default format and version, Units of new drawings, Automatic save every, Create backup copy with each save and Automatic save file location |
| Drafting | Object snap marker size and Object snap aperture. Drafting Settings… opens the snap, grid, polar tracking and Dynamic Input settings |
| Selection | Pickbox size, Grip size, Hold Shift to add to the selection and Select using two clicks only |
| User Preferences | Interface language, and Right-Click Customization… for what a right-click does |
| Profiles | Reset to Defaults, and Copy as JSON to copy your settings |
If the interface looks too small on a high-resolution screen, raise Interface scale on the Display tab. Turn on Select using two clicks only to define each corner of a selection window with its own click instead of dragging.
Use a 3D mouse
Section titled “Use a 3D mouse”On Windows and Linux, CADCraft can use a 3Dconnexion 3D mouse. Choose Tools › 3D Mouse… to check that CADCraft found it. The window shows the connection status and has Enable 3D mouse navigation, Pan sensitivity, Zoom sensitivity, Reverse zoom direction and Calibrate. Move the cap sideways to pan, and push, pull or twist it to zoom. The left button zooms to extents. The right button calibrates.
The Flatpak build can’t reach the device (#2713).
Keyboard shortcuts
Section titled “Keyboard shortcuts”On a Mac, use ⌘ in place of Ctrl.
| Shortcut | What it does |
|---|---|
| Ctrl+N, Ctrl+O | New drawing, open a drawing |
| Ctrl+S, Ctrl+Shift+S | Save, Save As |
| Ctrl+P | Plot |
| Ctrl+Z | Undo |
| Ctrl+Y or Ctrl+Shift+Z | Redo |
| Ctrl+C, Ctrl+X, Ctrl+V | Copy, cut, paste |
| Ctrl+Shift+C | Copy with a base point |
| Ctrl+Shift+V | Paste as a block |
| Ctrl+A | Select all |
| Ctrl+F | Find and replace text |
| Ctrl+1 | Properties palette |
| Ctrl+3 | Tool Sets |
| Ctrl+9 | Command line |
| F1 | Command reference |
| F2 | Command history |
| Esc | Cancel the current command |
| Enter or Space | Repeat the last command, or finish the current one |