
Save and reuse gradients
This guide covers reusing gradients in the Gradient panel: you apply presets, save your own, keep gradients as swatches, and adjust the stops and midpoints of a gradient.
Choose Window → Gradient to open the Gradient panel. These keys open the panel and the tool that this guide uses.
| Tool or panel | Windows and Linux | macOS |
|---|---|---|
| Gradient panel | Ctrl+F9 | Cmd+F9 |
| Gradient Tool | G | G |
The Gradient panel menu, which opens from the button at the top right of the panel, holds these commands.
| Command | What it does |
|---|---|
| Hide Options | Hides everything except the thumbnail, the Fill and Stroke boxes and the gradient slider. The item then reads Show Options |
| Add to Swatches | Saves the gradient as a swatch in the Swatches panel |
| Reverse Gradient | Flips the order of the stops |
| Reset to White, Black | Replaces the stops with the default white-to-black gradient |
| Hide Presets | Hides the Presets row. The item then reads Show Presets |
| Save Gradient Preset… | Saves the gradient as a preset |
| Delete Gradient Preset | Deletes the saved preset that the gradient matches |
Apply a gradient preset
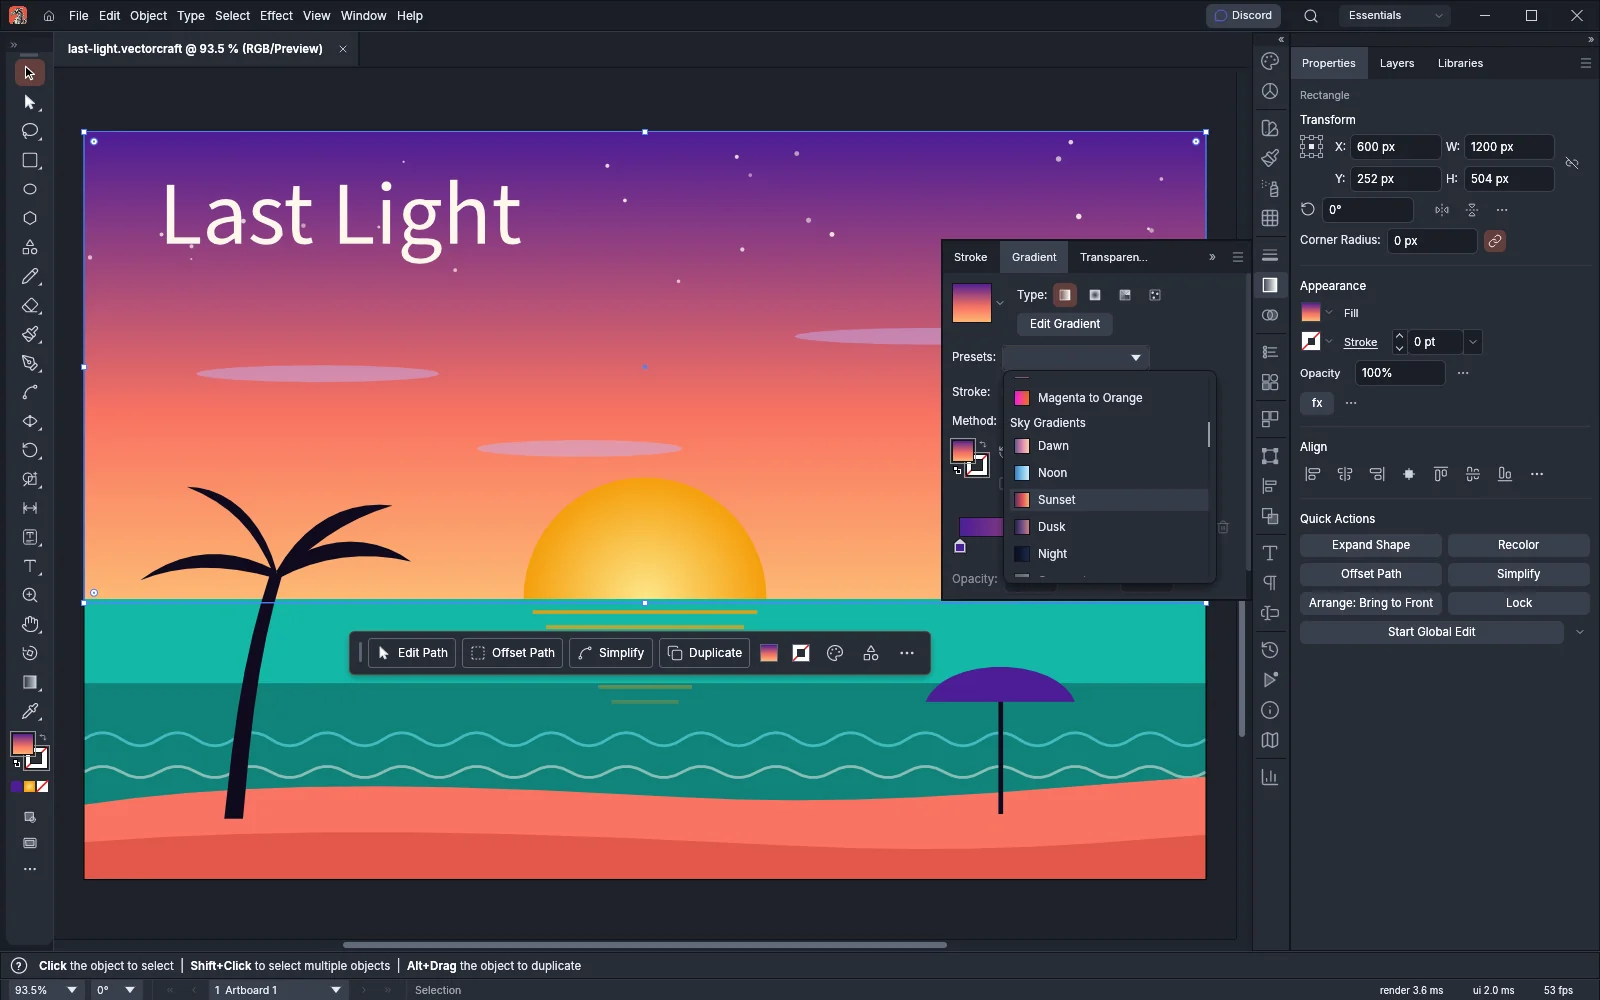
Section titled “Apply a gradient preset”The Presets menu lists ready-made gradients grouped by library: Spectrum Gradients, Sky Gradients, Neutral Gradients, Duotone Gradients and Radial Glows, followed by the gradients of the built-in swatch libraries, such as Metallic Gradients. Gradients you save yourself appear last, under Saved.
- Select the art you want to paint.
- Click the Fill box or the Stroke box in the Gradient panel to choose what the preset paints.
- Open the Presets menu. Scroll to a library and click a preset. Each row shows a small chip of the gradient next to its name.
A preset sets the gradient’s type, stops and method, and for a fill also its dither setting. The gradient keeps its angle, position and length on the art. A solid color or None becomes the preset’s gradient. Each choice is one step that Edit → Undo reverses.
When the gradient matches a preset, the Presets box shows that preset’s name. Otherwise the box is blank.
Save your own preset
Section titled “Save your own preset”- Select art painted with the gradient you want to keep, and click its Fill or Stroke box in the Gradient panel.
- Choose Save Gradient Preset… from the Gradient panel menu.
- In the Gradient Preset dialog, type a Name and click OK. The name starts as the first free “Gradient Preset 1”, “Gradient Preset 2” and so on.
The new preset appears under Saved at the end of the Presets menu. A name must not be empty, must differ from every other preset’s name regardless of letter case, and must not repeat a built-in preset’s name. Save Gradient Preset… is available only while the active box holds a gradient.
A preset keeps the gradient’s type, stops, method and dither. A stop that is linked to a global or spot color keeps that color in the preset, but the link to the swatch is not saved.
Saved presets are stored with your preferences, so they are available in every document. Resetting the preferences does not remove them.
To delete a saved preset, paint the active box with it, then choose Delete Gradient Preset from the panel menu. The command is dimmed while the gradient does not match a saved preset. You cannot delete a built-in preset. Art you already painted with a deleted preset keeps its gradient.
Keep a gradient as a swatch
Section titled “Keep a gradient as a swatch”A gradient swatch is saved in the document file. To save one, do either of the following:
- Choose Add to Swatches from the Gradient panel menu.
- Click the arrow beside the gradient thumbnail and choose Save to Swatches.
The new swatch is named “New Gradient Swatch 1”, or the next free number. To name the swatch as you save it, click the New Swatch button in the Swatches panel instead. For a gradient, the New Swatch dialog asks only for a name.
The gradient thumbnail at the top left of the panel shows the active gradient:
- Click the thumbnail to apply a gradient when the active box holds a solid color or None.
- Drag the thumbnail onto art to paint that art with the gradient. The gradient fits the art you drop it on.
- Ctrl-click (Cmd-click on macOS) the thumbnail to reset the active box to the linear white-to-black gradient. Ctrl-click (Cmd-click on macOS) on the Gradient button below the Fill and Stroke boxes in the Tools panel, between Color and None, does the same.
- Click the arrow beside the thumbnail to list the document’s gradient swatches, color groups included. The swatch that the gradient came from is highlighted. Click a swatch to paint the active box with it, or Alt-click (Option-click on macOS) it to paint the other box. When the document has no gradient swatches, the list reads “No gradient swatches”.
Edit a stop in its popover
Section titled “Edit a stop in its popover”- Select the art and click its Fill or Stroke box in the Gradient panel.
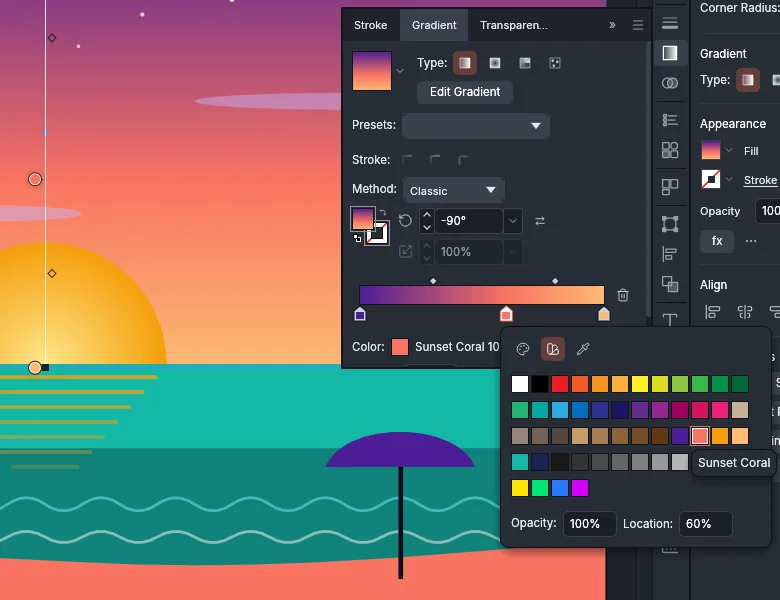
- Double-click a stop under the gradient slider. You can also click a stop to select it and then click the color chip next to Color below the slider. With the Gradient Tool (G), double-clicking a stop on the art opens the same popover.
- Change the stop’s color, opacity or location in the popover. The following table lists each setting.
- Press Esc or click elsewhere to close the popover.
The popover and the row of fields below the slider hold these settings.
| Option | Default | What it does |
|---|---|---|
| Color tab (palette icon) | Shown | Sets the stop’s color with the Color panel’s sliders, hex field and spectrum |
| Swatches tab (swatch book icon) | Hidden | Shows the document’s color swatches as tiles. Point at a tile to see the swatch’s name, and click it to give the stop that color. The tile of the stop’s current color is outlined |
| Eyedropper | Off | Closes the popover. Click your art to give the stop the color under the pointer, and the tool you were using comes back after the click. The eyedropper at the right of the Color row below the slider works the same way |
| Opacity | 100% | Sets the stop’s opacity, from 0% to 100%. The field is dimmed while no stop is selected, for example while a midpoint diamond is selected |
| Location | The stop’s place | Moves the stop along the slider, from 0% to 100%. For a selected midpoint diamond, it sets where the midpoint sits between its two stops, from 13% to 87%. A new midpoint starts at 50% |
| Color (below the slider) | The stop’s color | Shows the selected stop’s hex value. For a stop linked to a swatch, it shows the swatch’s name and tint instead, for example “Sunset Coral 100%”. Click the chip to open the popover |
| Delete Stop (trash button) | Dimmed with two stops | Removes the selected stop. The button is dimmed while no stop is selected or the gradient has only two stops |
To add a stop, click just below the slider. You can also remove the selected stop by dragging it down off the slider. A gradient always keeps at least two stops.
Move the midpoint between two stops
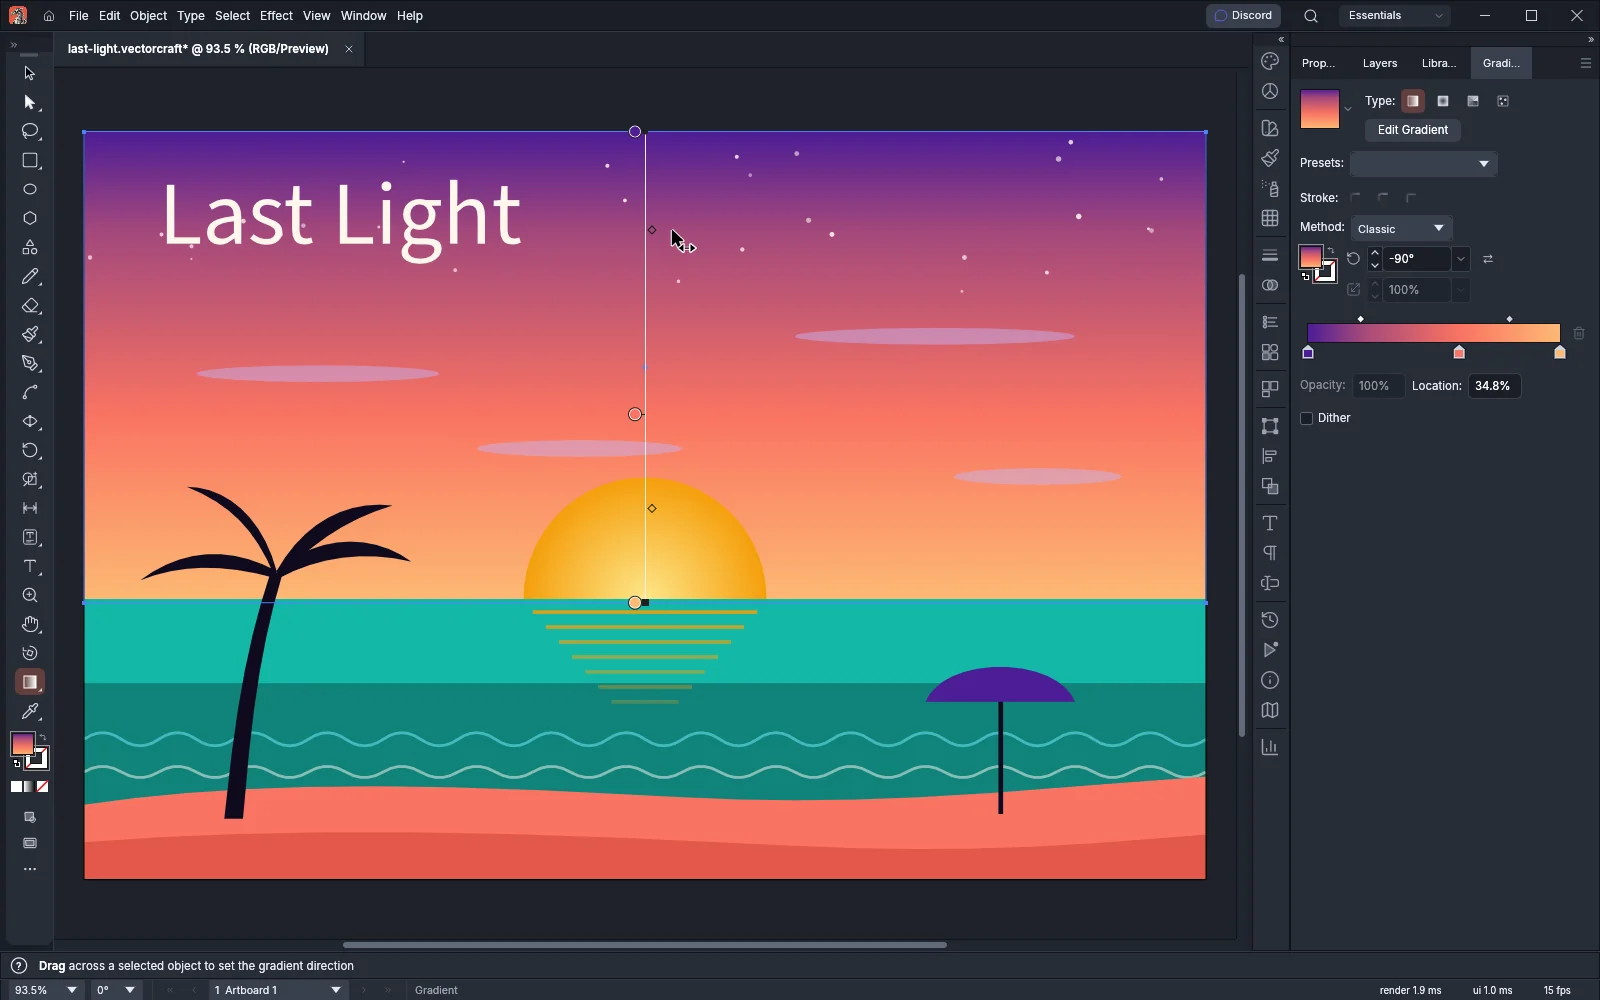
Section titled “Move the midpoint between two stops”A diamond above the gradient slider sits between each pair of stops. It marks the midpoint, where the two colors mix evenly.
- Select the art and click its Fill or Stroke box in the Gradient panel.
- Drag a diamond left or right. The even mix of the two colors moves with it. With the Gradient Tool (G), you can also drag the diamond beside the gradient bar on the art.
- To set an exact value, click the diamond to select it and type a value in Location.
A selected diamond turns white, and no stop is selected. Location then shows where the midpoint sits between its two stops, from 13% to 87%. A new midpoint starts at 50%. While a diamond is selected, the Opacity field is dimmed.
Copy, swap and link stops
Section titled “Copy, swap and link stops”- Copy a stop: Alt-drag (Option-drag on macOS) a stop along the slider. A copy stays where you release it, and the original stays in place. A copy dragged off the slider is not removed.
- Swap two colors: Alt-drag (Option-drag on macOS) a stop and release it on another stop. The two stops swap colors, together with any swatch links and tints. Their locations, opacities and midpoints do not change.
- Add a stop from a swatch: drag a color swatch from the Swatches panel onto the slider. The slider is outlined while you hold the swatch over it. Release it between stops to add a stop of that color, or on a stop to recolor that stop. The stop becomes fully opaque.
- Link a stop to a swatch: give a stop a global or spot color, or a tint of one, by dropping its swatch on the slider or by clicking it on the popover’s Swatches tab. The stop stays linked, so when you edit the swatch, the stop changes color too.