
Adjust the colors of artwork
This guide covers the commands in Edit → Edit Colors that change every color of the selected art in one step: Adjust Color Balance…, Saturate…, the three Convert commands, Invert Colors and the three Blend commands.
To swap colors one by one or try color harmonies, use Recolor artwork. Overprint Black… is described in Overprint black on the Manage color and proof page.
What the Edit Colors commands change
Section titled “What the Edit Colors commands change”Every command in this guide works on the selected objects and on everything inside them, such as the objects in a group. If nothing is selected, the commands are dimmed. None of them has a default shortcut, and each one is a single undo step.
Adjust Color Balance, Saturate, the Convert commands and Invert Colors change these colors. The Blend commands change fills only; see Grade fills across objects with the Blend commands.
| Where the color is | What happens |
|---|---|
| Fills and strokes | Solid colors and every gradient stop change |
| Type | The colors of the characters change |
| Gradient meshes | The color of every mesh point changes |
| Embedded images | The art gets a recolored copy of the image. An image with a colorize paint keeps its pixels, and its colorize color changes instead. Linked images do not change |
| Pattern fills | The whole pattern tile is recolored and saved as a new pattern swatch, such as Dots 2. The original pattern stays in the Swatches panel for other objects |
A color that is linked to a global or spot swatch loses the link when the command changes it, and the swatch stays as it was. To keep the link and change only the tint, use the Global mode of Adjust Color Balance.
When you select everything with Select → All, hidden and locked objects are not selected and stay unchanged. These include objects on hidden or locked layers and objects on locked artboards. If any of them would have changed, Adjust Color Balance, Saturate, the Convert commands and Invert Colors report how many were left out in the status bar, for example “Recolor completed; 2 locked objects were left unchanged”. The Blend commands do not report left-out objects. To change those objects too, unlock or show them, then select again.
Shift color channels with Adjust Color Balance
Section titled “Shift color channels with Adjust Color Balance”Adjust Color Balance adds the same amount to one or more color channels of every selected color.
- Select the art.
- Choose Edit → Edit Colors → Adjust Color Balance…. The Adjust Colors dialog opens with its default values, which are listed after these steps.
- Choose a model from Color Mode.
- Drag the sliders or type values from -100% to 100%.
- Under Adjust Options, clear Fill or Stroke to leave those colors as they are.
- Watch the canvas. With Preview on, the art shows the result as you drag. Clear Preview to see the art as it was.
- Click OK to keep the change, or Cancel to leave the art as it was.
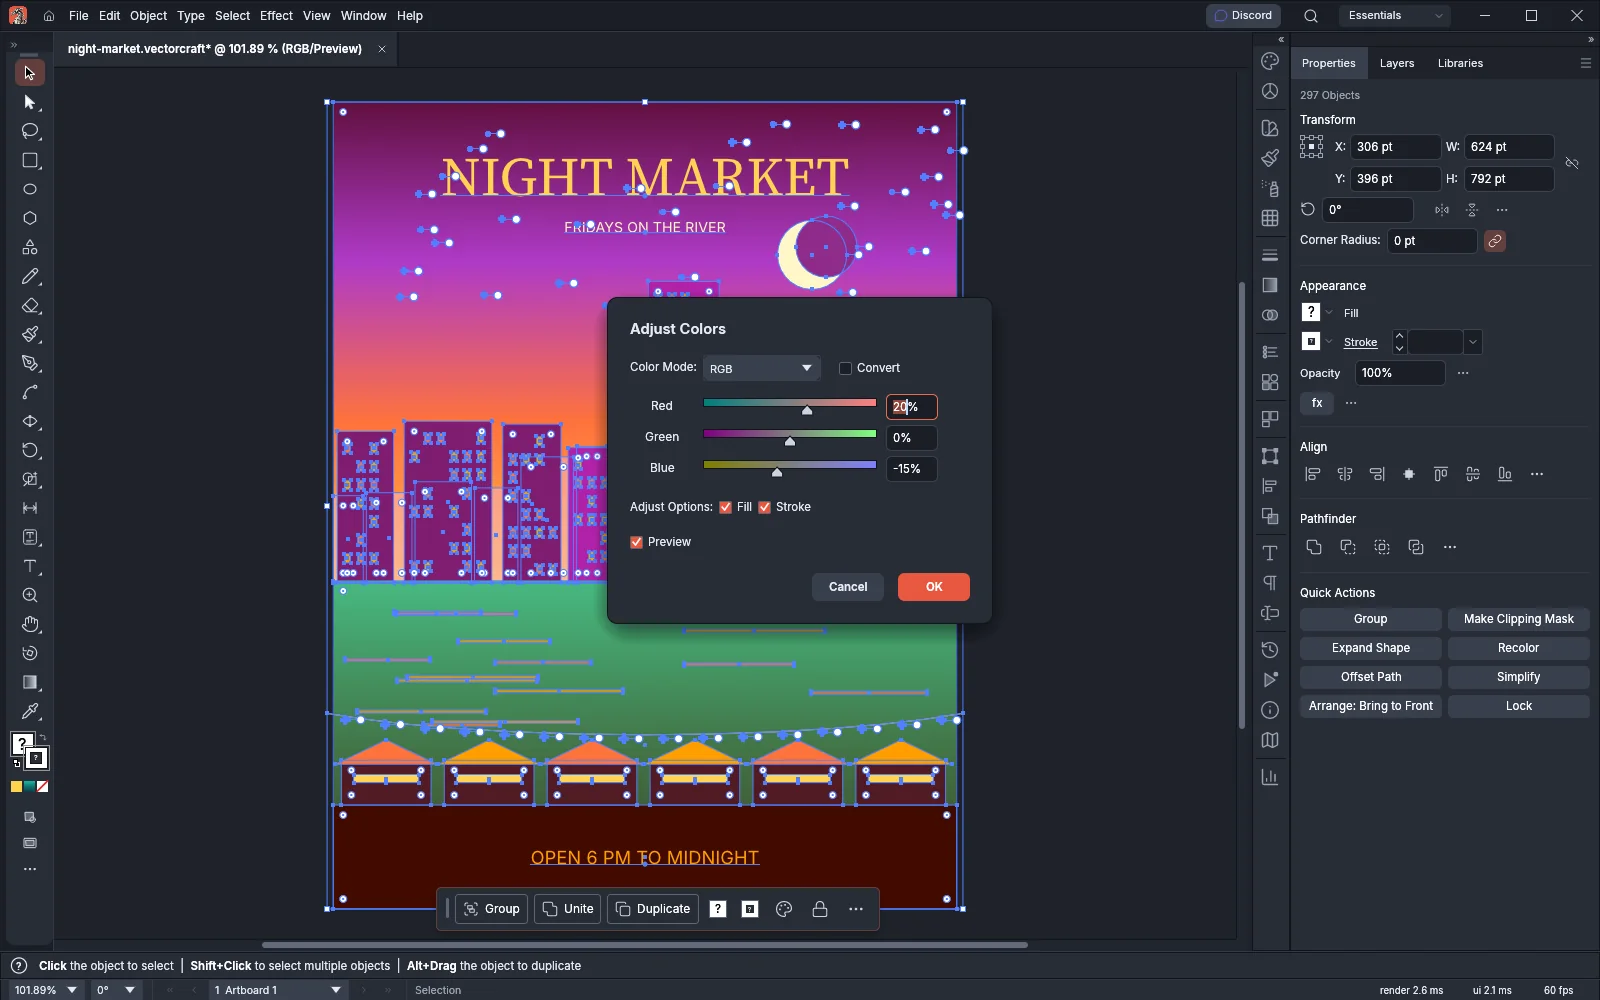
The dialog opens with these values each time:
| Option | Default | What it does |
|---|---|---|
| Color Mode | RGB | Sets the channels the sliders adjust: Grayscale (Black), RGB (Red, Green, Blue), CMYK (Cyan, Magenta, Yellow, Black) or Global (Tint) |
| Channel sliders | 0% | Each value, from -100% to 100%, is added to that channel, so Red at 20% raises the red of every color by a fifth of the full range. A channel cannot go below 0% or above 100% |
| Convert | Off | When it is off, each color stays in its own model, so a CMYK color adjusted in RGB mode is still a CMYK color afterward. When it is on, every adjusted color ends up in the model chosen in Color Mode, and in Grayscale mode embedded images are stored in grayscale. It is dimmed in Global mode |
| Fill | On | Adjusts fill colors |
| Stroke | On | Adjusts stroke colors |
| Preview | On | Shows the result on the canvas while the dialog is open |
In Grayscale mode, every color becomes a gray. The Black slider adds to or takes away from the gray’s darkness.
Global mode changes only colors linked to global and spot swatches. Tint adds to the tint percentage of each linked color and gradient stop, and the colors stay linked to their swatches. A spot color at a 50% tint becomes a 30% tint with Tint at -20%. Unlinked colors and images do not change.
Make colors more or less saturated
Section titled “Make colors more or less saturated”- Select the art.
- Choose Edit → Edit Colors → Saturate….
- Drag Intensity or type a value from -100% to 100%. Positive values make colors more vivid, and negative values mute them. At -100% every color becomes a gray.
- Check the preview, then click OK.
| Option | Default | What it does |
|---|---|---|
| Intensity | 0% | Changes the saturation of every selected color, from -100% to 100% |
| Preview | On | Shows the result on the canvas while the dialog is open |
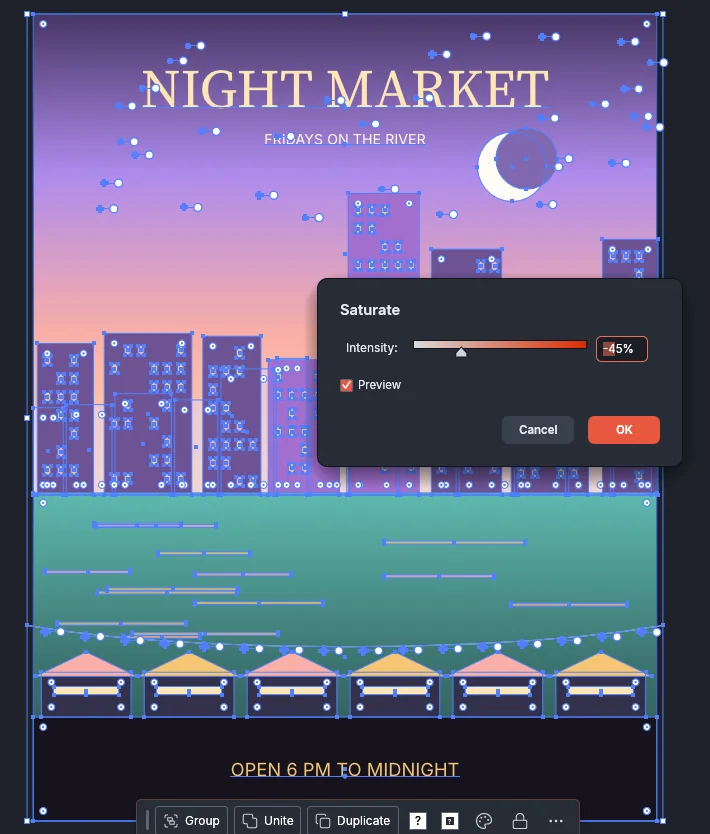
Saturate multiplies each color’s saturation by 100% plus the Intensity value, so -45% keeps 55% of it and 50% raises it by half. A color that is already muted changes less than a vivid one, and no color goes past full saturation. Grays, white and black do not change, and colors keep their color model. A color whose saturation does not change keeps its swatch link.
Convert colors to another color model
Section titled “Convert colors to another color model”Choose one of these from Edit → Edit Colors:
| Command | What it does |
|---|---|
| Convert to CMYK | Converts every selected color to CMYK |
| Convert to Grayscale | Converts every selected color to a gray. Embedded images are stored in grayscale |
| Convert to RGB | Converts every selected color to RGB |
The commands change the colors of the objects and do not change the document’s color mode. To set up color for print or screen, see Manage color and proof.
Invert colors
Section titled “Invert colors”Choose Edit → Edit Colors → Invert Colors. Each color becomes its RGB opposite: white becomes black, violet becomes a yellow green, and teal becomes coral. Each color stays in its own color model.
Invert Colors changes the colors themselves. To invert or desaturate art as a live effect that you can turn off later, use Invert Colors or Desaturate in Object → Plug-ins → Color Effects. See Built-in plug-ins.
Grade fills across objects with the Blend commands
Section titled “Grade fills across objects with the Blend commands”The Blend commands give a row or stack of objects an even run of fills between the two objects at the ends.
-
Fill the object at one end with the start color and the object at the other end with the end color.
-
Select the two end objects and every object between them. You need at least three objects with a solid fill, or gradient meshes. Objects inside a selected group count.
-
Choose one of these from Edit → Edit Colors:
Command Grades the fills between Blend Front to Back The frontmost and the backmost object, in stacking order Blend Horizontally The leftmost and the rightmost object Blend Vertically The top and the bottom object
The two end objects keep their fills, and every object between them gets a color evenly spaced between the two. Blend Horizontally and Blend Vertically order the objects by the centers of their bounding boxes.
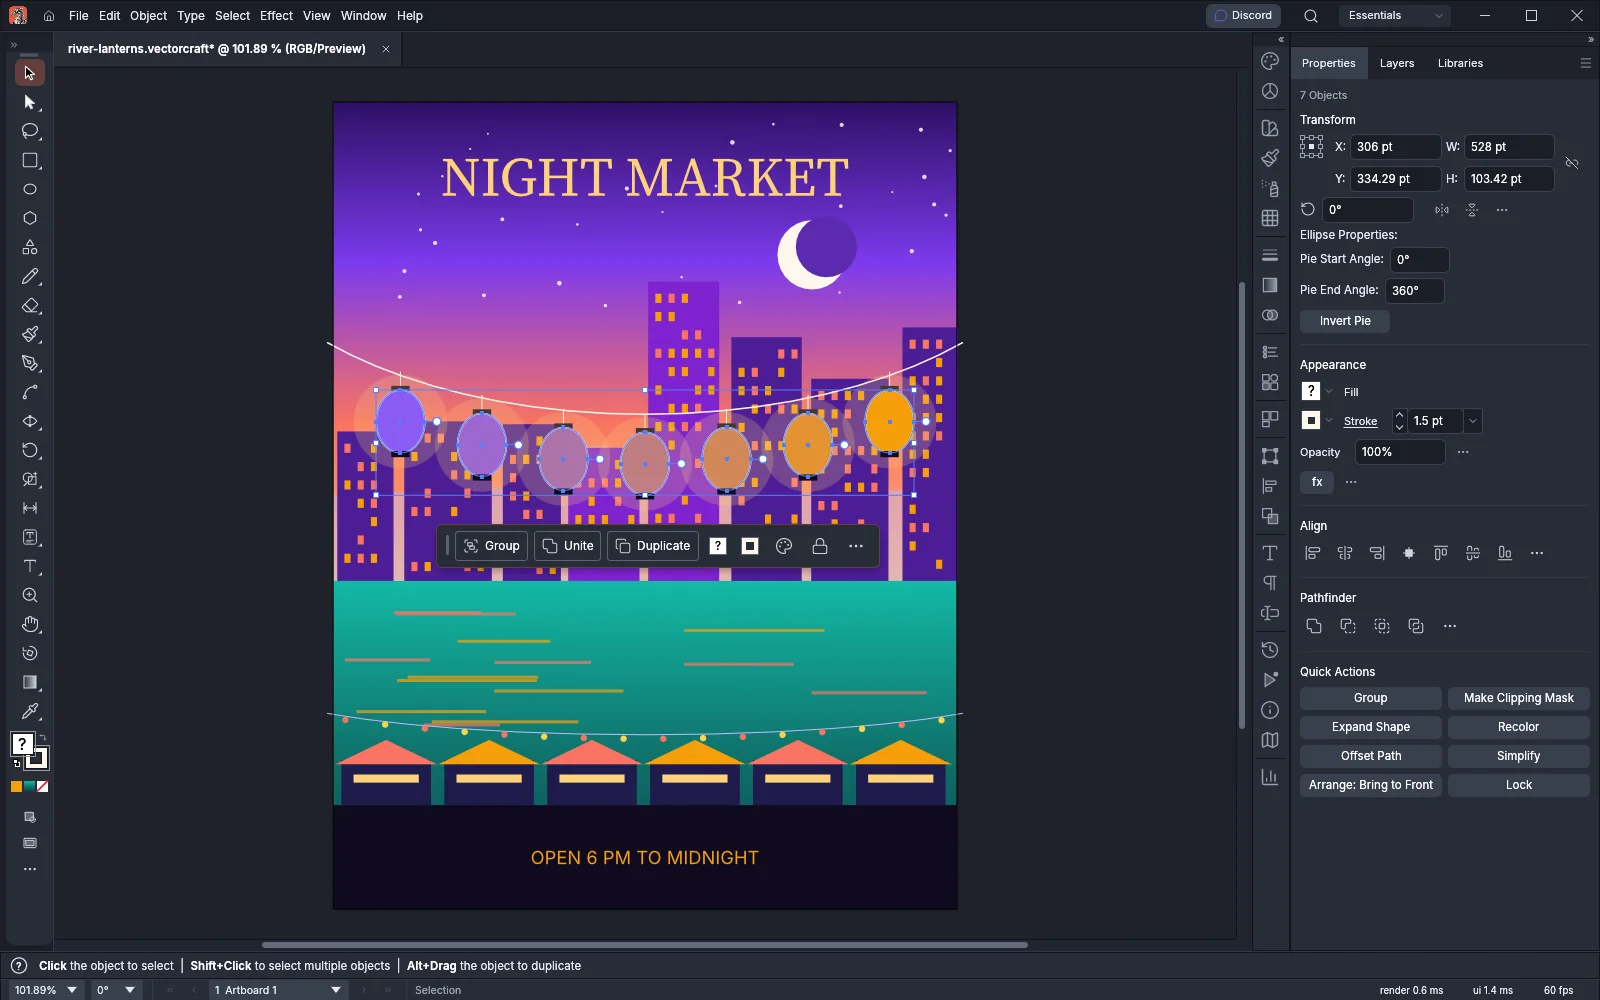
The Blend commands change fills only, so strokes stay as they are. When both end colors are in the same color model, the new colors are in that model; otherwise they are in the document’s color mode. For a gradient mesh, the command shifts every mesh point by the same amount, so the mesh’s average color becomes the new color and its shading stays the same. With fewer than three filled objects selected, the status bar shows an error and nothing changes.