Frame-by-Frame Animation
Pose-to-pose is one approach to animation. In novel-writing terms, pose-to-pose is like carefully planning your story outline and writing all of your chapter titles, and then filling in the blanks.
Straight-ahead animation is more like stream of consciousness writing: you start with an idea and start writing (drawing), and just see where things take you. You might have a rough idea of where you’re headed, but you let everything evolve organically as you go.
AniCraft has a number of tools to help us create frame-by-frame, straight-ahead animation.
Create a Straight-Ahead Animation
Section titled “Create a Straight-Ahead Animation”First, draw a frame of your animation on Frame 1. You can use the Brush tool or the Pencil tool, or any other tool that strikes your fancy.
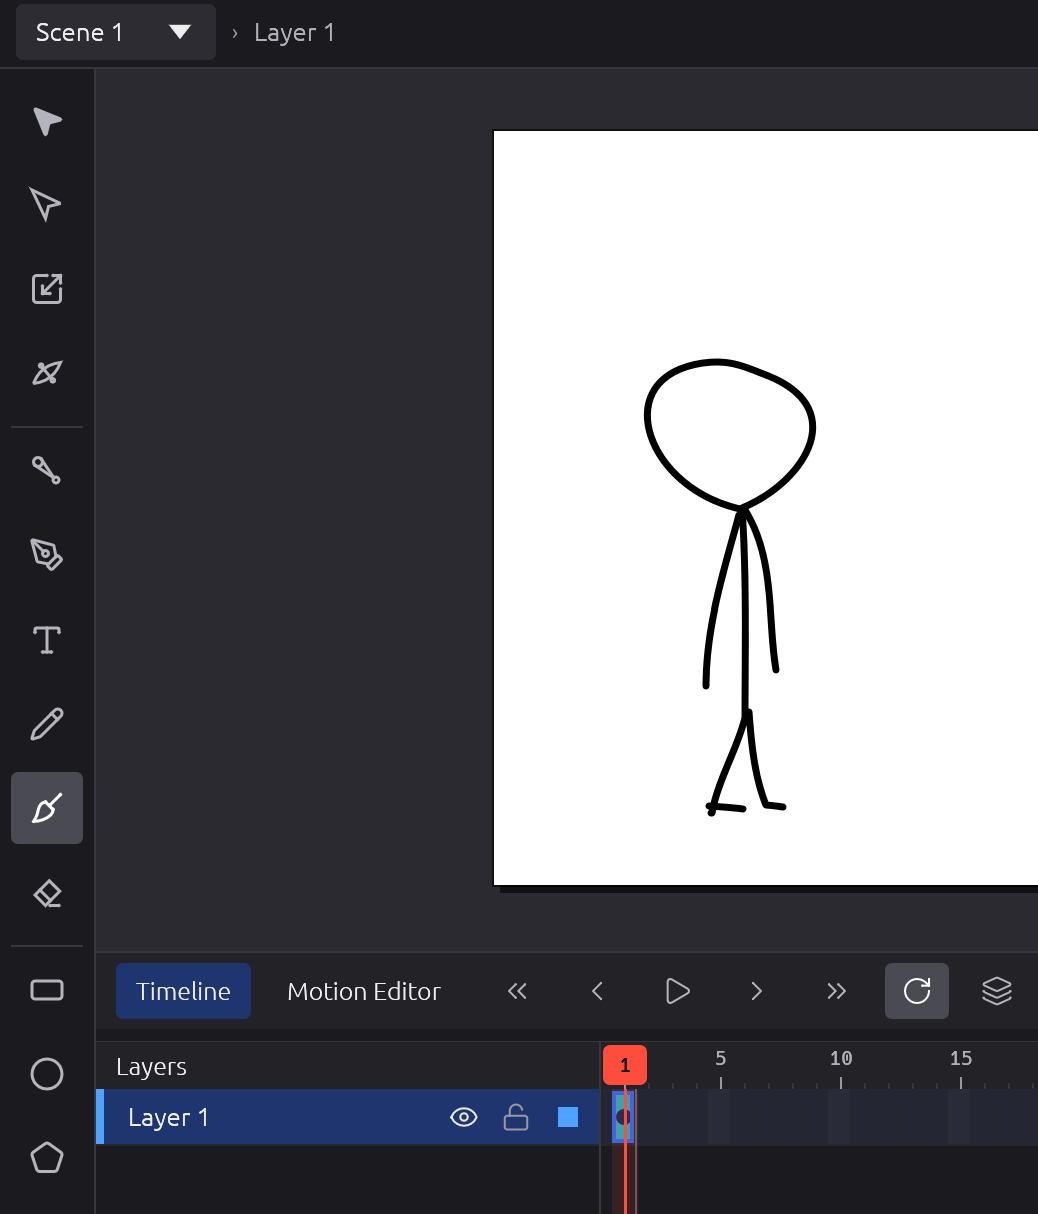
The image in Frame 1 changes to a filled dot to indicate that there’s stuff on the Stage at that point in time. Let’s not confuse this with a Keyframe, because AniCraft doesn’t remember position/rotation/scale/colour effect parameters for raw artwork that hasn’t been converted to a Symbol.
Click on the empty cell in frame 2 and either:
- press F7
- right-click and choose Blank Keyframe
- choose Insert > Timeline > Blank Keyframe from the menus
We see an unfilled circle on Frame 2. That means we have a blank slate to create an entirely new picture.
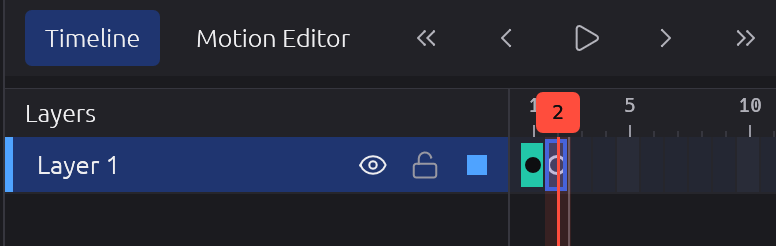
Now, draw something new on Frame 2.
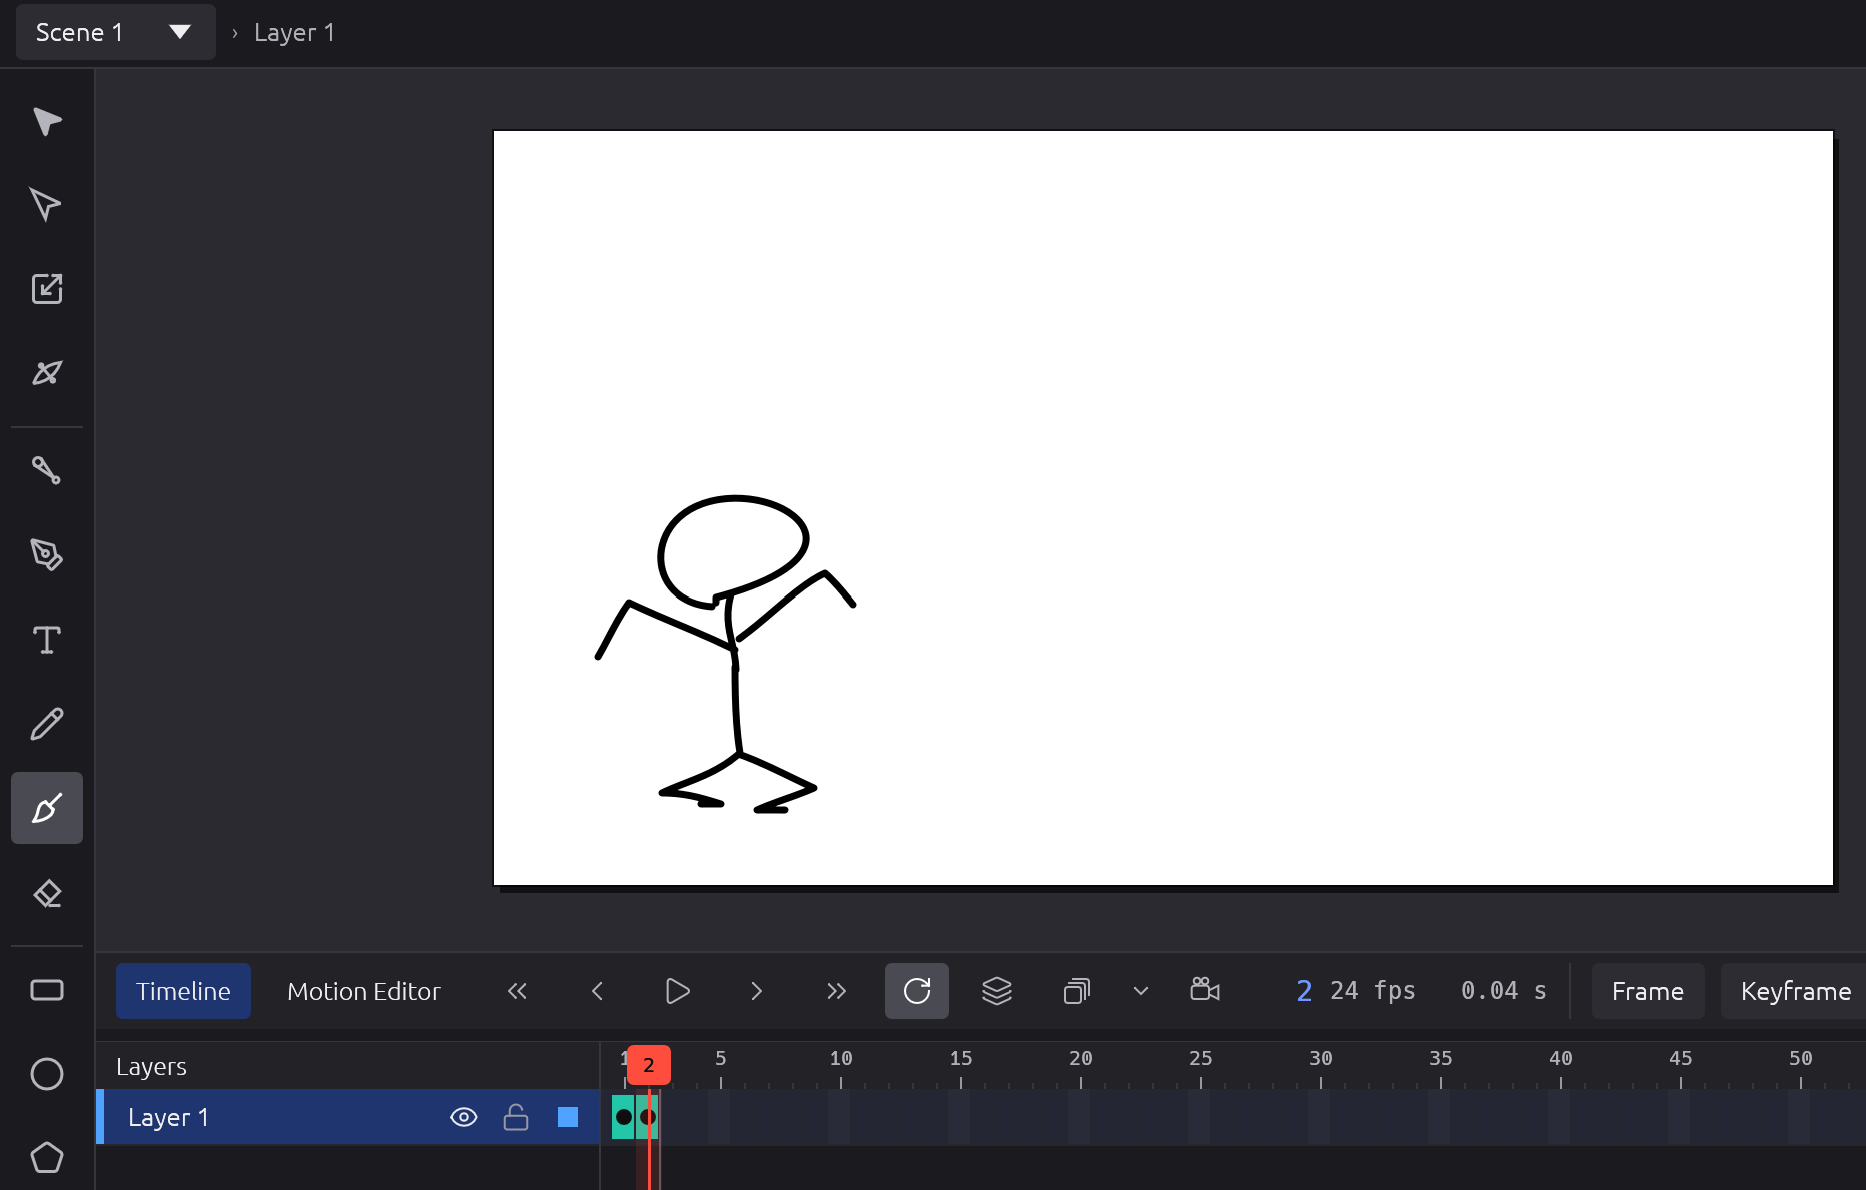
Play your animation.
At the default 24 frames per second, your animation probably doesn’t look very good. It likely plays far too quickly, and it’s difficult for your brain to interpret your drawings as motion.
We can improve the animation by adding Frames after Frame 1 and Frame 2 (shortcut: F5). In animation terms, when a single drawing lingers for more than a single frame, it’s called a held frame.
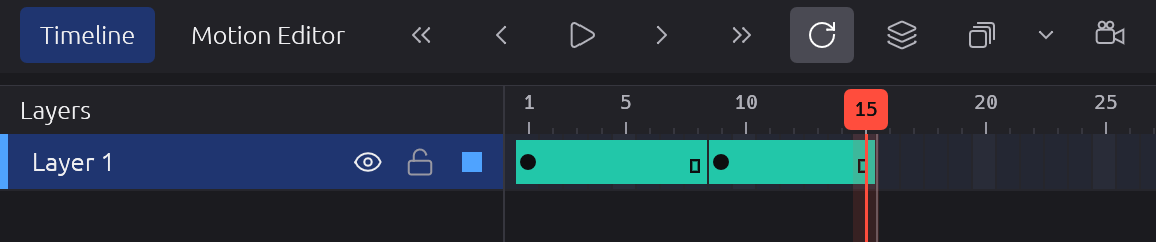
With these held frames added, our animation looks much more visually appealing when we play it.
Onion-Skinning
Section titled “Onion-Skinning”Classical animation was created by creating a single drawing on each page of a stack of pages, and then flipping between the pages quickly to preview the motion.
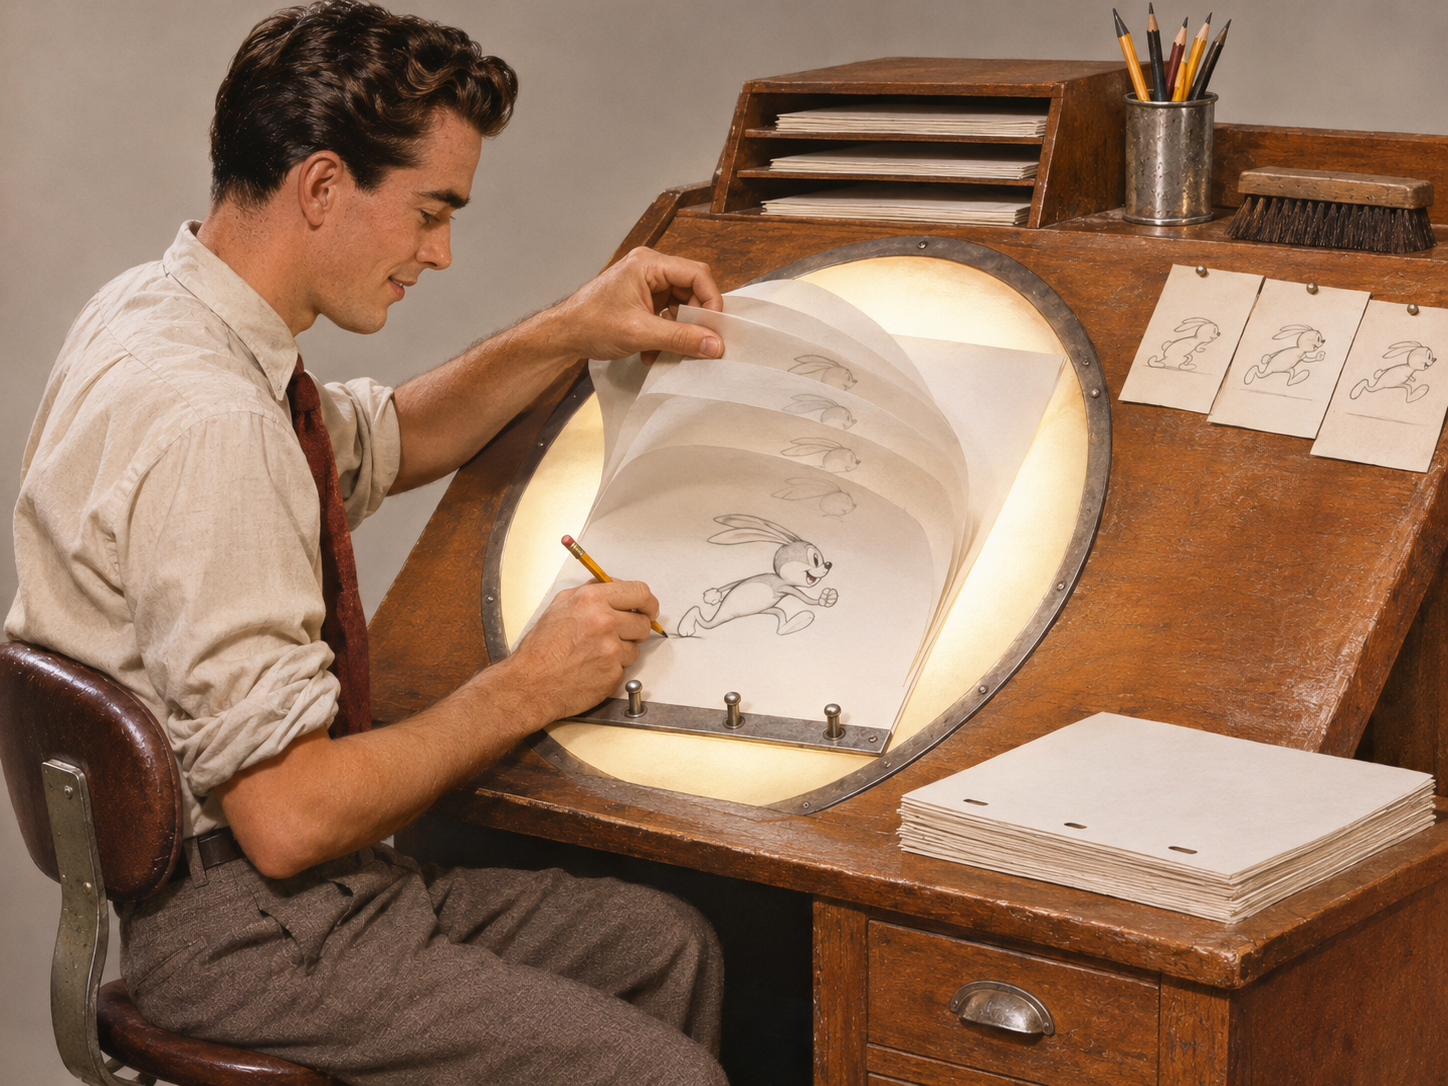
AniCraft gives us a fantastic tool called Onion-Skinning, where we can see through the “paper,” to help us plan out our next drawing based on the previous one(s).
And because we’re working on a magical computer, we can also use Onion-Skinning to see forward in time, to compare the current drawing against the drawings we’ve made further along the Timeline.
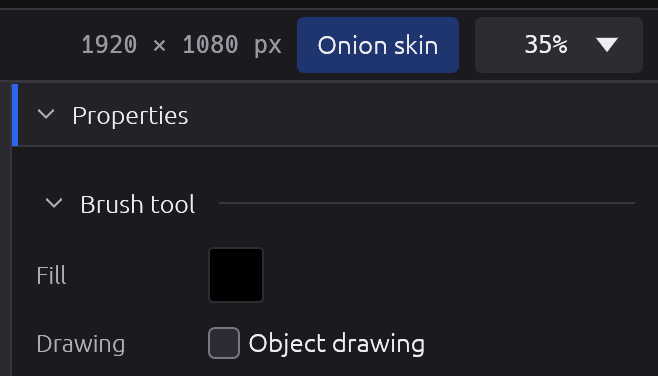
Click the Onion Skin button at the top-right of the interface to enable Onion-Skinning.
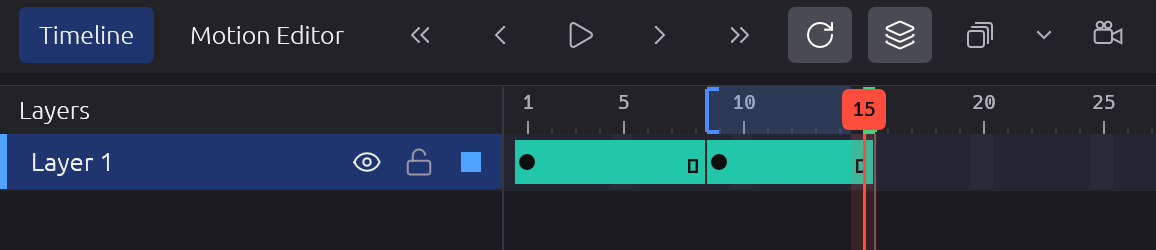
We can click and drag the envelope on the Timeline to specify the range of frames we can see.
Drawings that appear on other frames show up semi-transparently on the Stage.
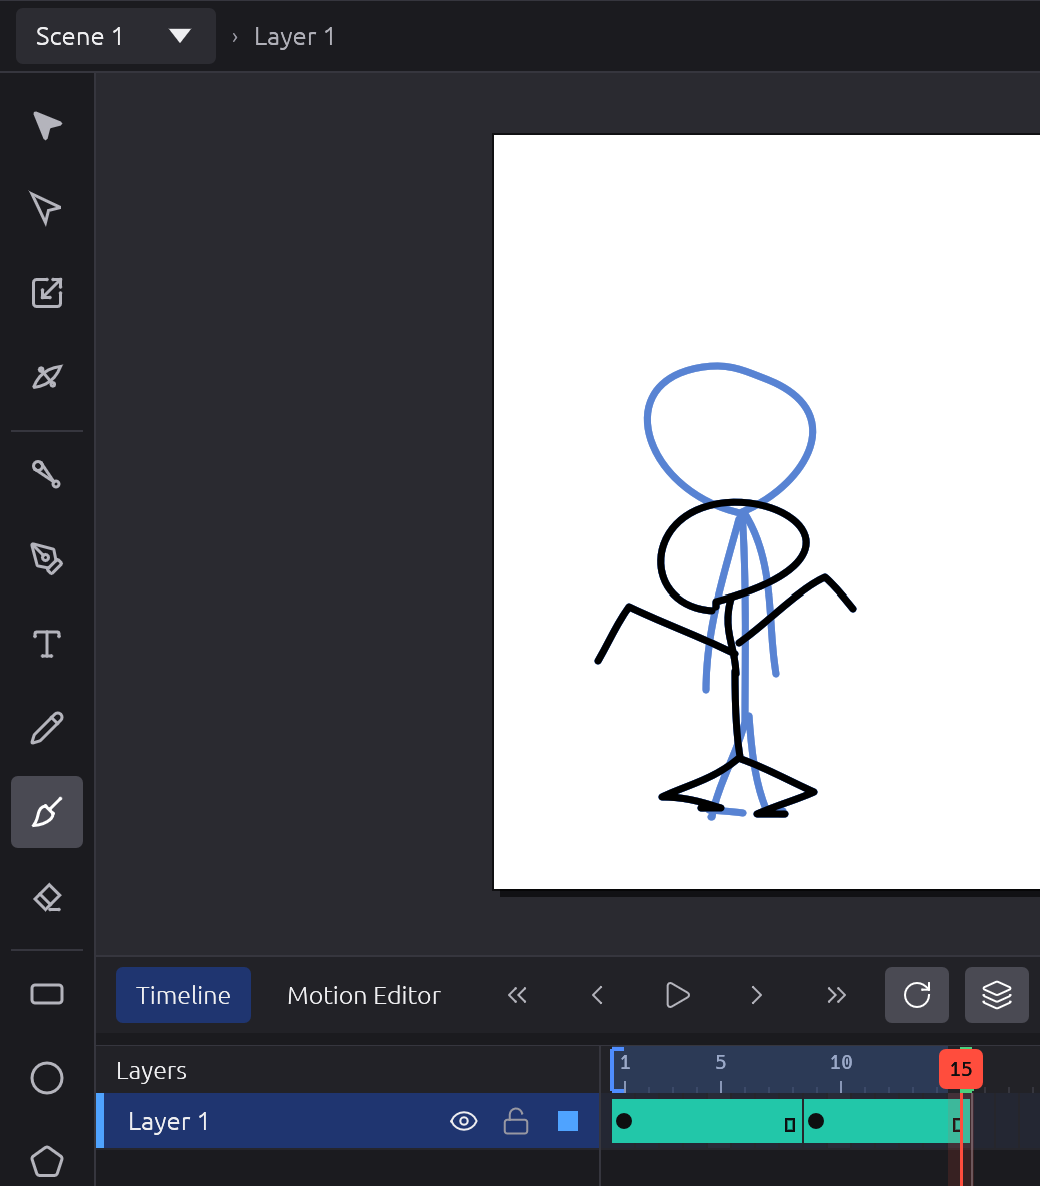
Using Onion-Skinning, we can produce amazing straight-ahead animations in AniCraft: even better than this one!