Keyframe Animation
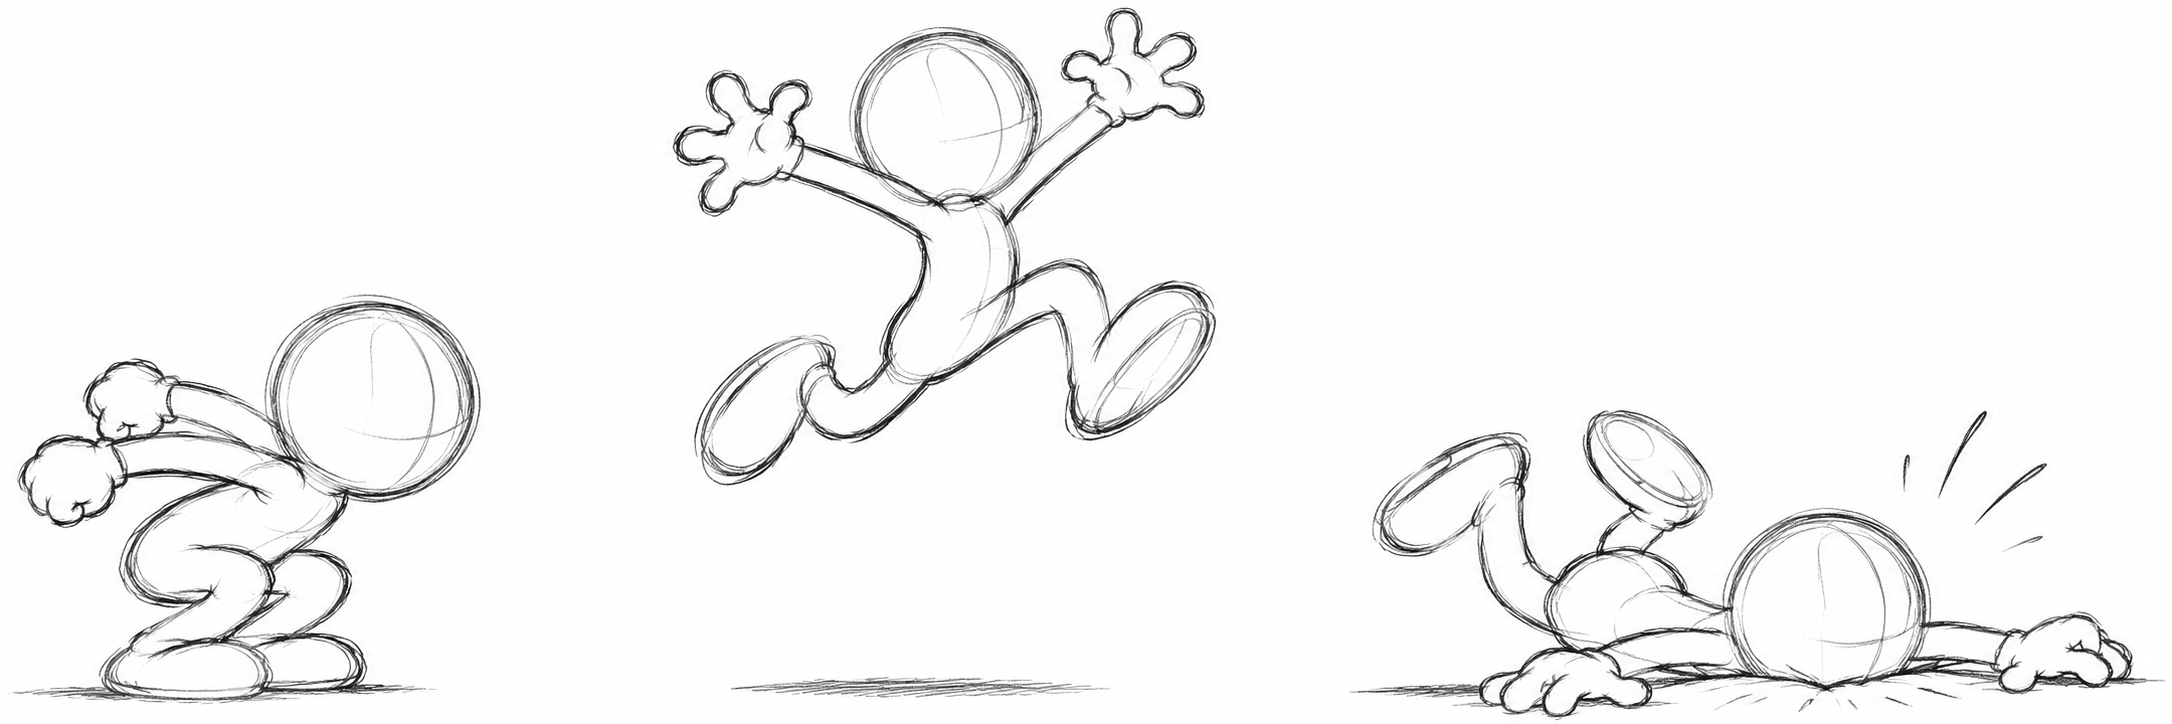
In classical animation, an animation Director draws a character in a series of poses, called “key” poses:
A junior animator then fills in the drawings between each pose. These drawings are called “in-betweens.”
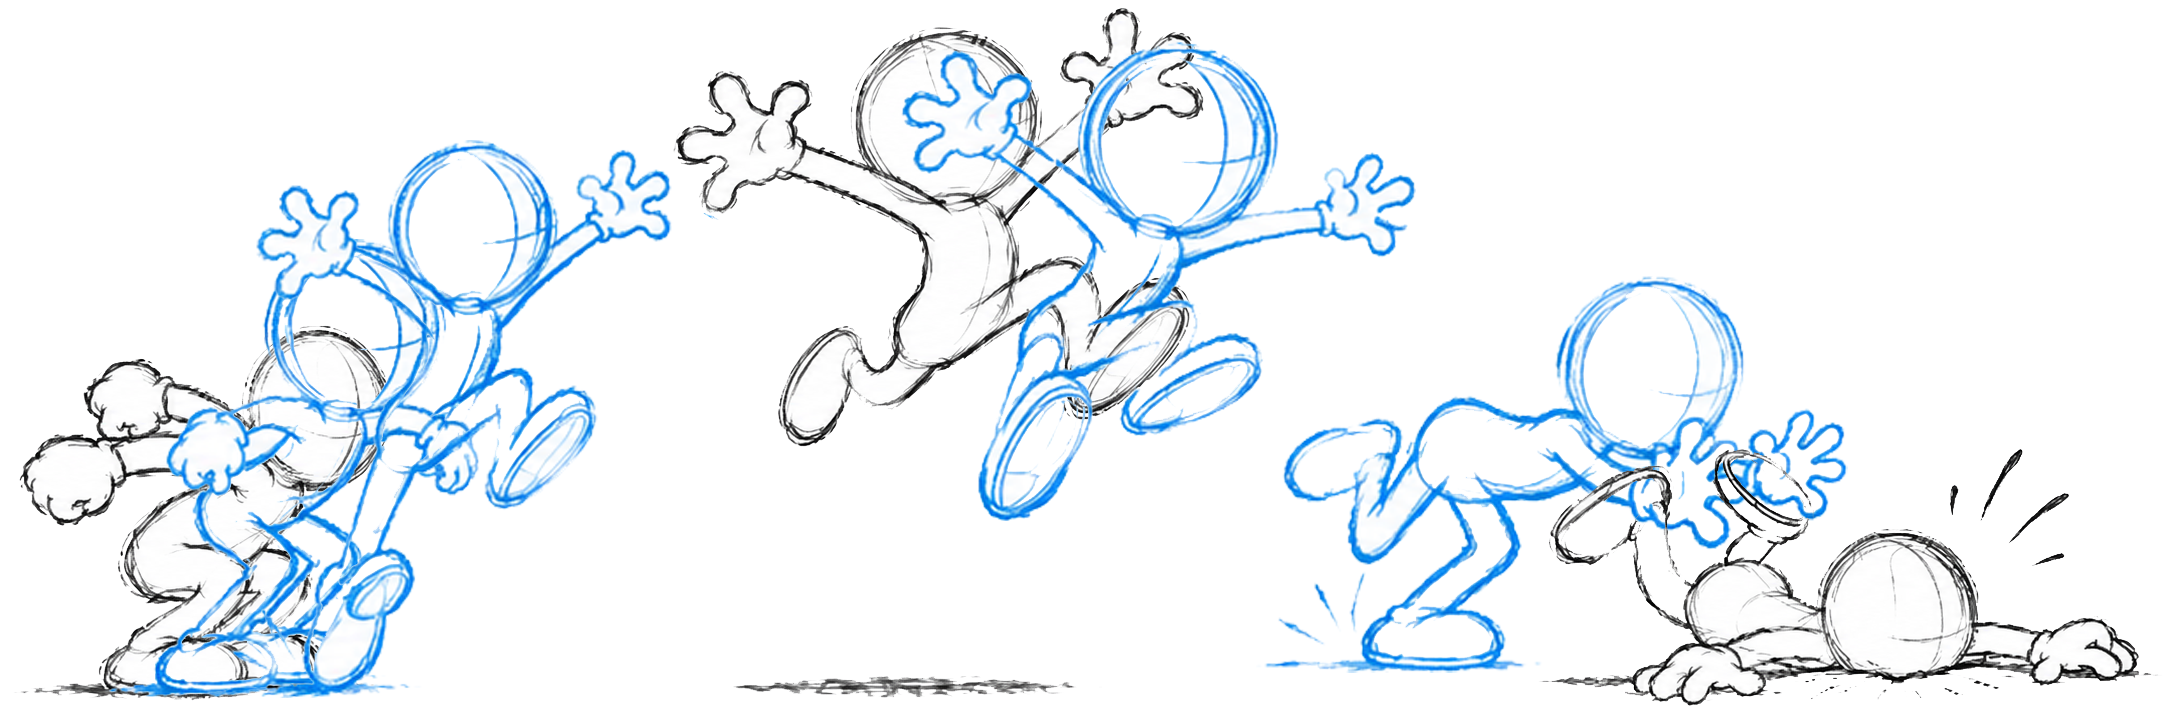
In-betweening is seen as lower-skilled work. Often, in-betweening tasks were offshored from the United States to other countries, where labour was less expensive.
Sometimes this approach to animation is called “pose-to-pose.”
Keyframes
Section titled “Keyframes”Computer animation has borrowed these concepts from classical animation.
If we have a Symbol Instance on the Stage, AniCraft is remembering a number of different things about it:
- position
- rotation
- scale
- colour effect
On a different Frame on the timeline, we can change one or all of these parameters. But that will change them across the whole span of frames.
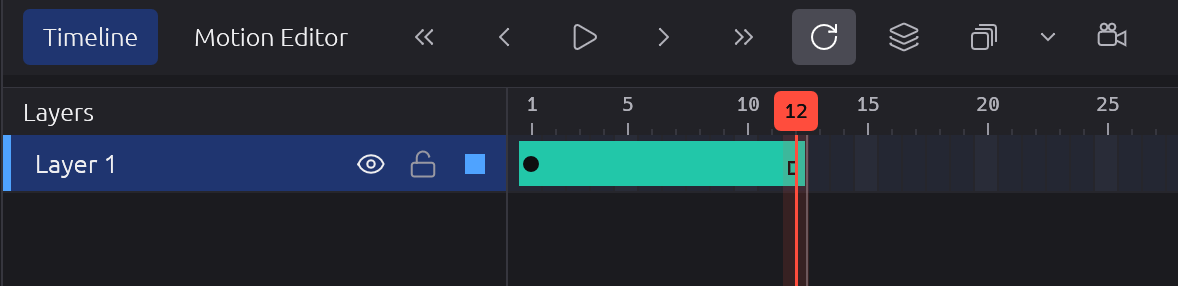
We need to specifically tell the computer to remember our changed parameters. We do this by creating a Keyframe.
Creating a Keyframe
Section titled “Creating a Keyframe”With our Symbol instance on the Stage, click on a frame cell in the Timeline. To create a Keyframe, either:
- press F6
- right-click and choose Keyframe from the context menu
- click the Keyframe button at the top of the Timeline
The frame visual on the timeline changes to a filled dot.
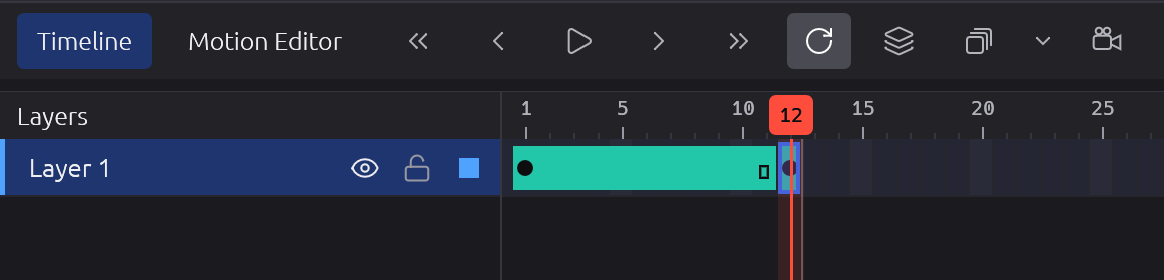
Note: This can be very misleading! Any time the Stage has stuff on it, we see this filled dot. But AniCraft can’t animate raw artwork that we haven’t converted into a Symbol, because it doesn’t know anything about that artwork’s position/rotation/scale/colour effect. AniCraft doesn’t store those values unless 1) the artwork is converted to a Symbol, and 2) we have an Instance of that Symbol on the Stage.
Adding a Classic Tween
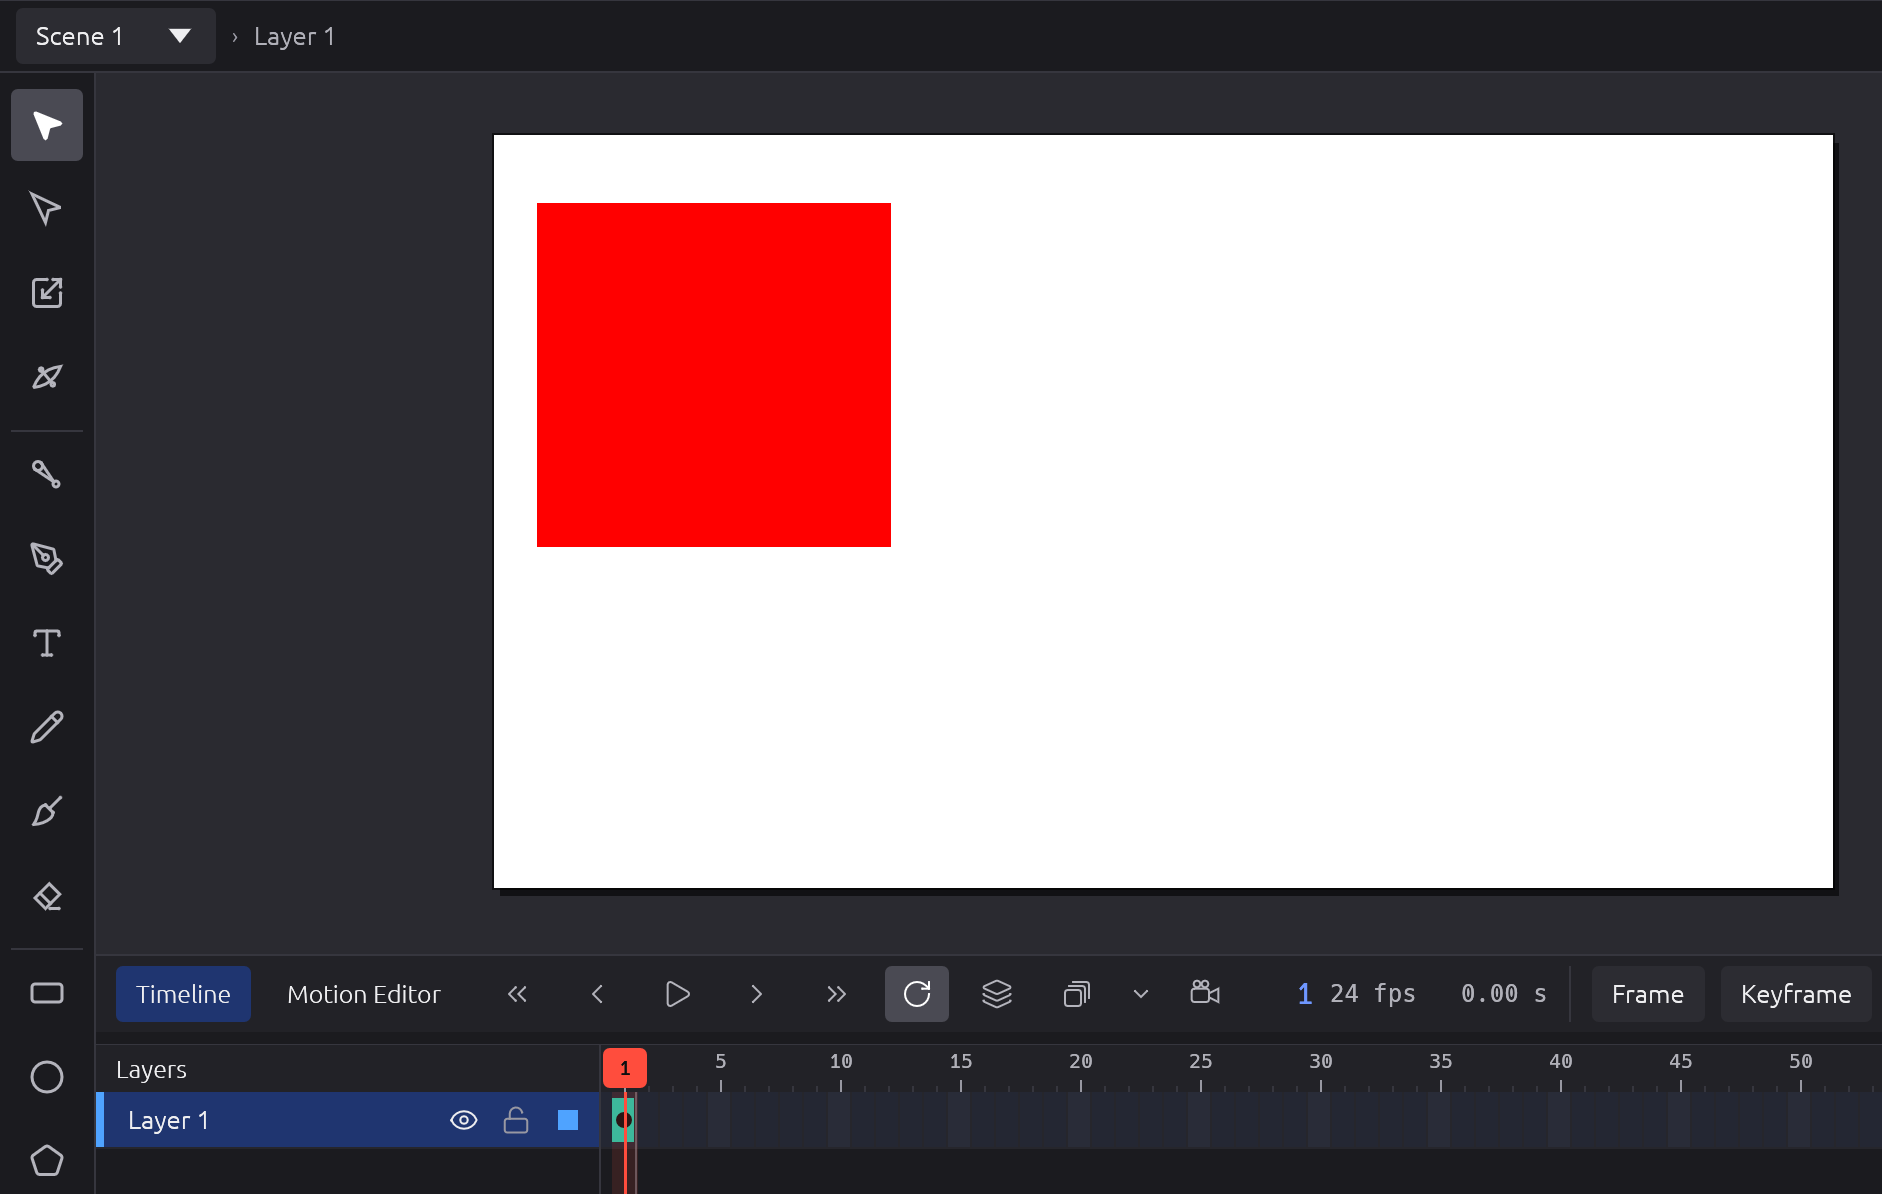
Section titled “Adding a Classic Tween”Let’s start with an Instance of our red box symbol on the Stage on Frame 1.
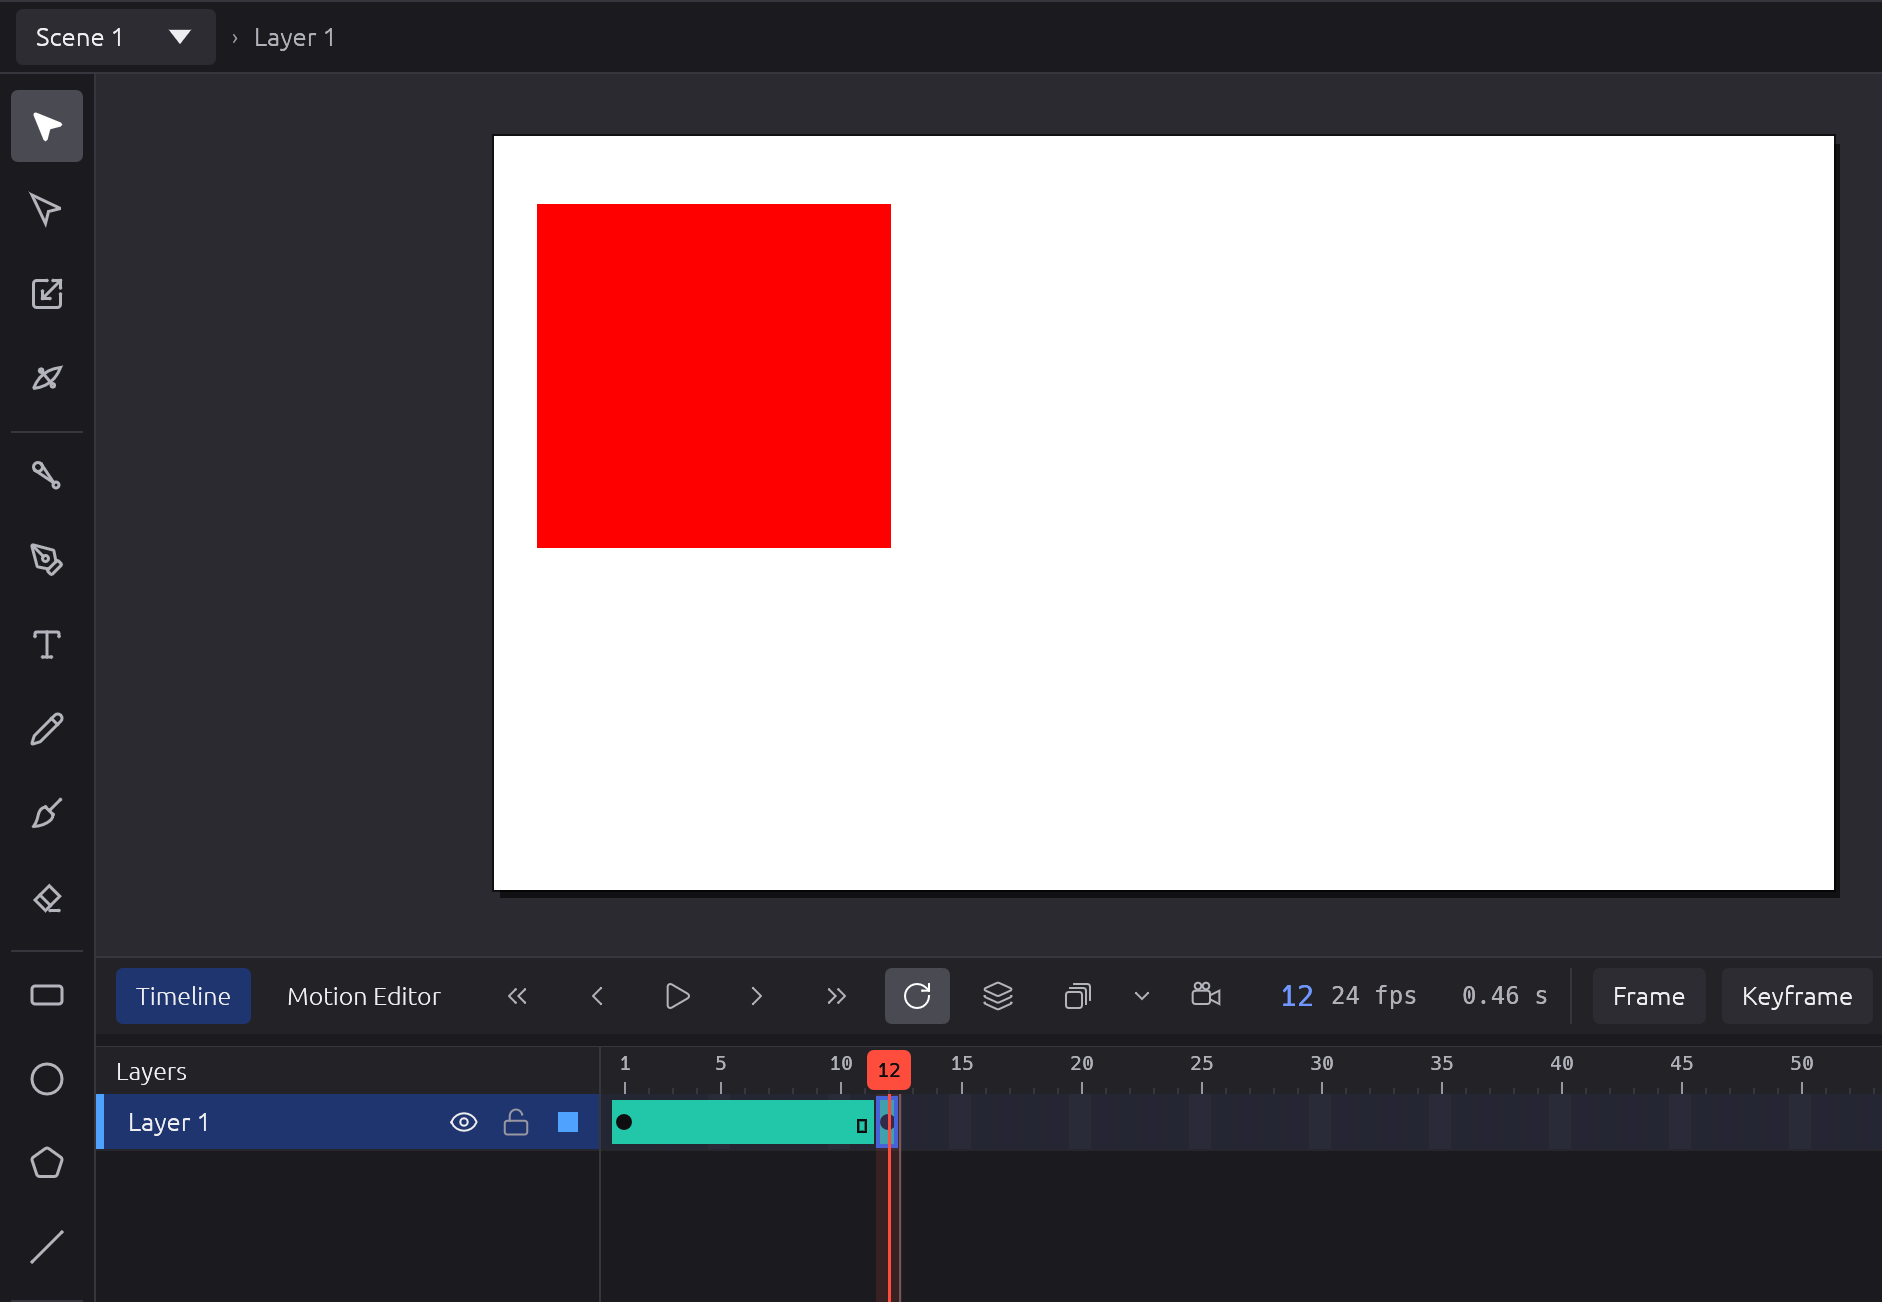
Click on Frame 12 and add a Keyframe.
Then, click and drag to move the box across the Stage.
Note: it’s important to add the Keyframe first, and THEN change the parameter! Otherwise, you’ll be changing the parameters on the previous keyframe.
Next, press Enter or click the play button to preview the animation.
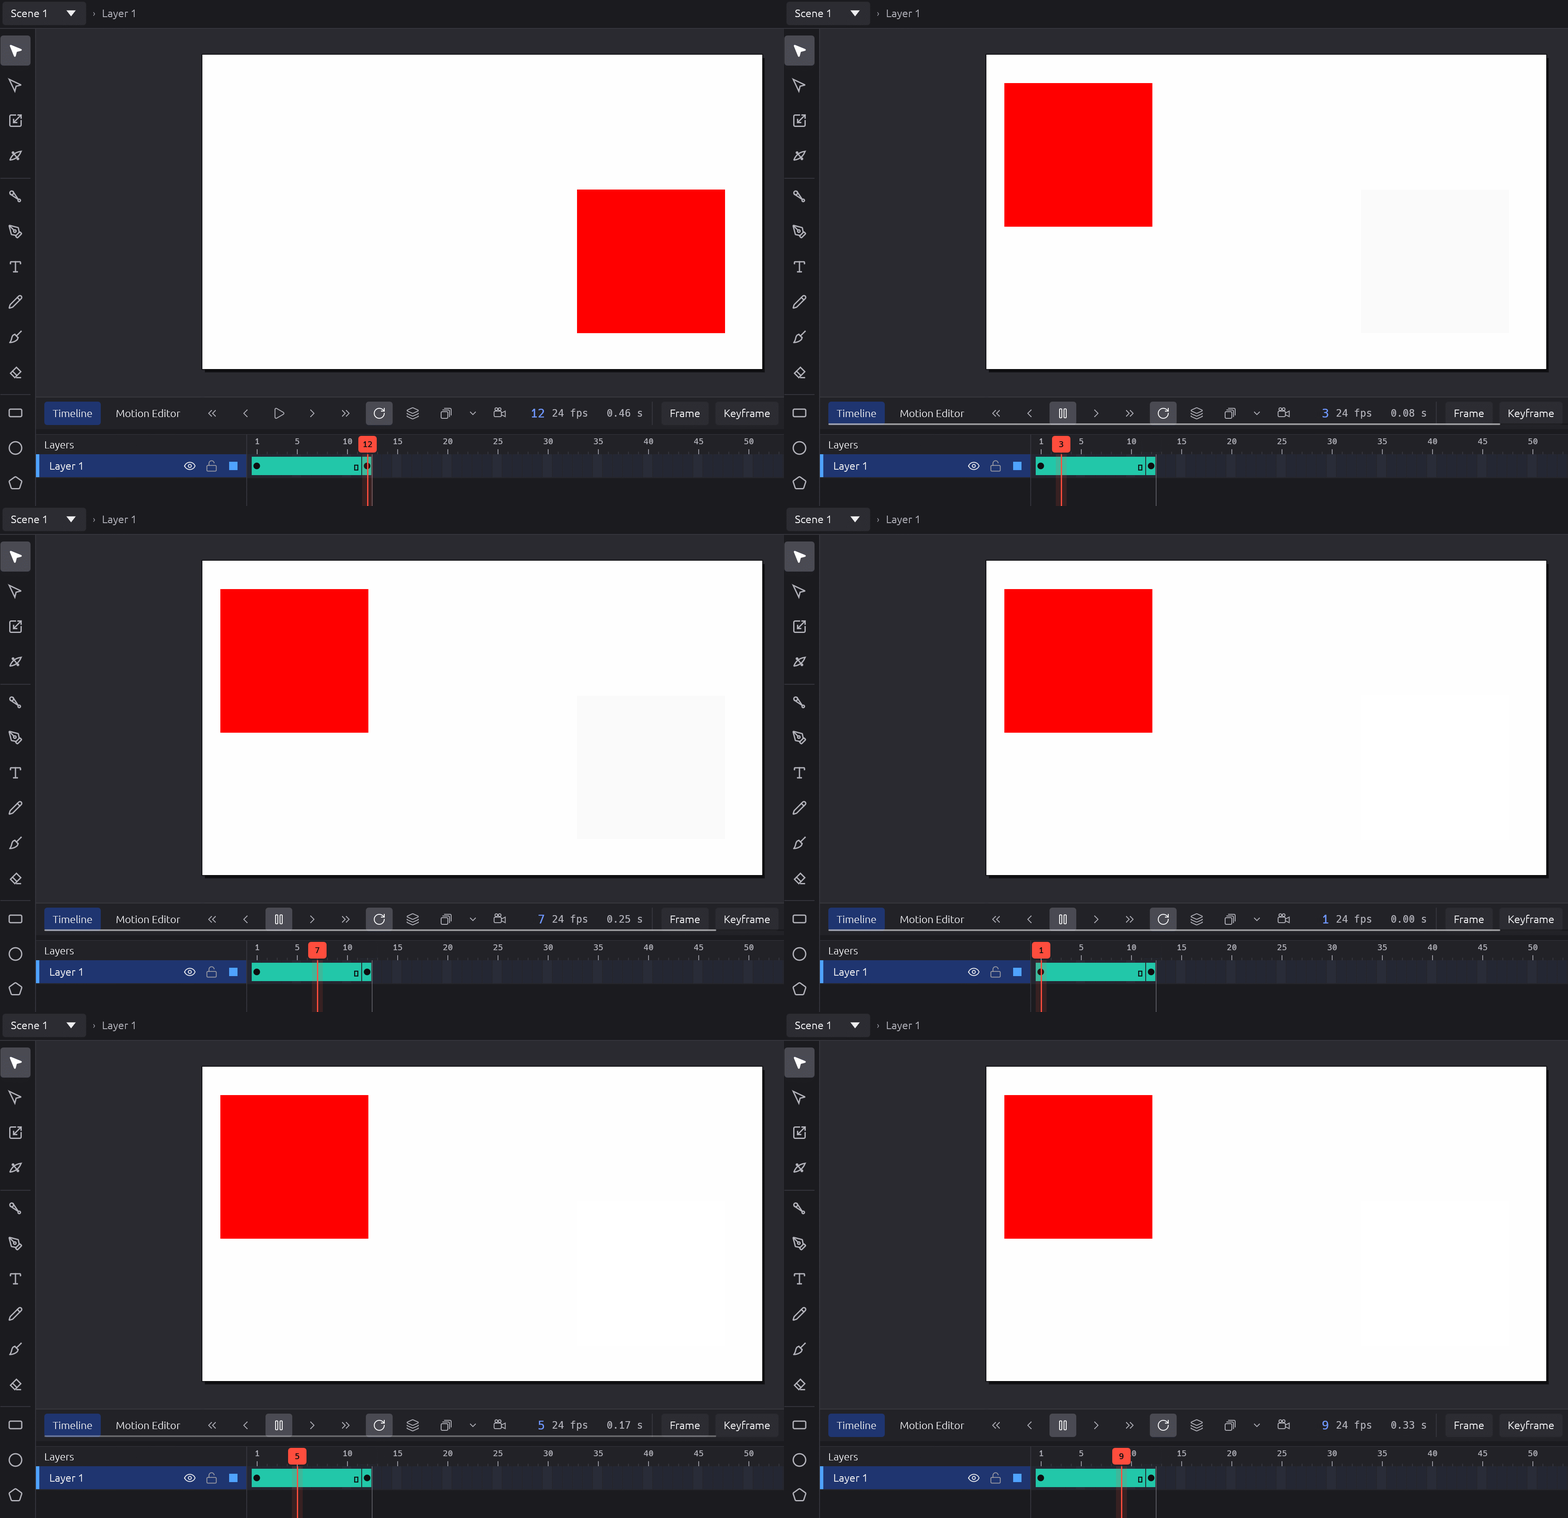
The box jumps from one side of the stage to the other. This is because, like the classical animation director, we’ve only “drawn” the key poses. We need to hand the work off to an in-betweener to draw all the positions between those keys!
AniCraft can be our lower-paid, offshored in-between artist.
The software can calculate the differences between the two Keyframes, and then fill in the blanks from pose to pose to create automatic motion or visual changes. This is called interpolation.
To get AniCraft to interpolate between our keyframes, we have to select the first keyframe, or any frame in the range in between the two keyframes. Then either:
- right-click and choose Create Classic Tween
- select Insert > Create Classic Tween from the menu
- choose Create tween > Classic tween from the drop-down at the top of the Timeline
Now, the first Keyframe changes colour, and we see an arrow extend all the way to the next Keyframe.
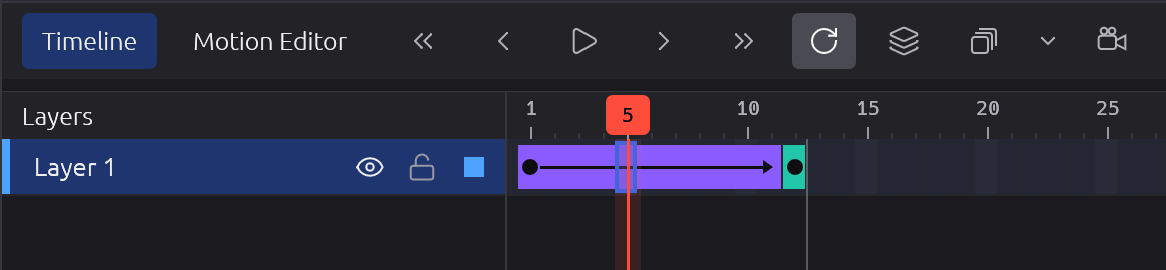
If we scrub the Timeline by clicking and dragging the Playhead, or if we play our animation by pressing Enter or clicking the Play button, we see the red box Symbol Instance move between the first keyframe position and the next.
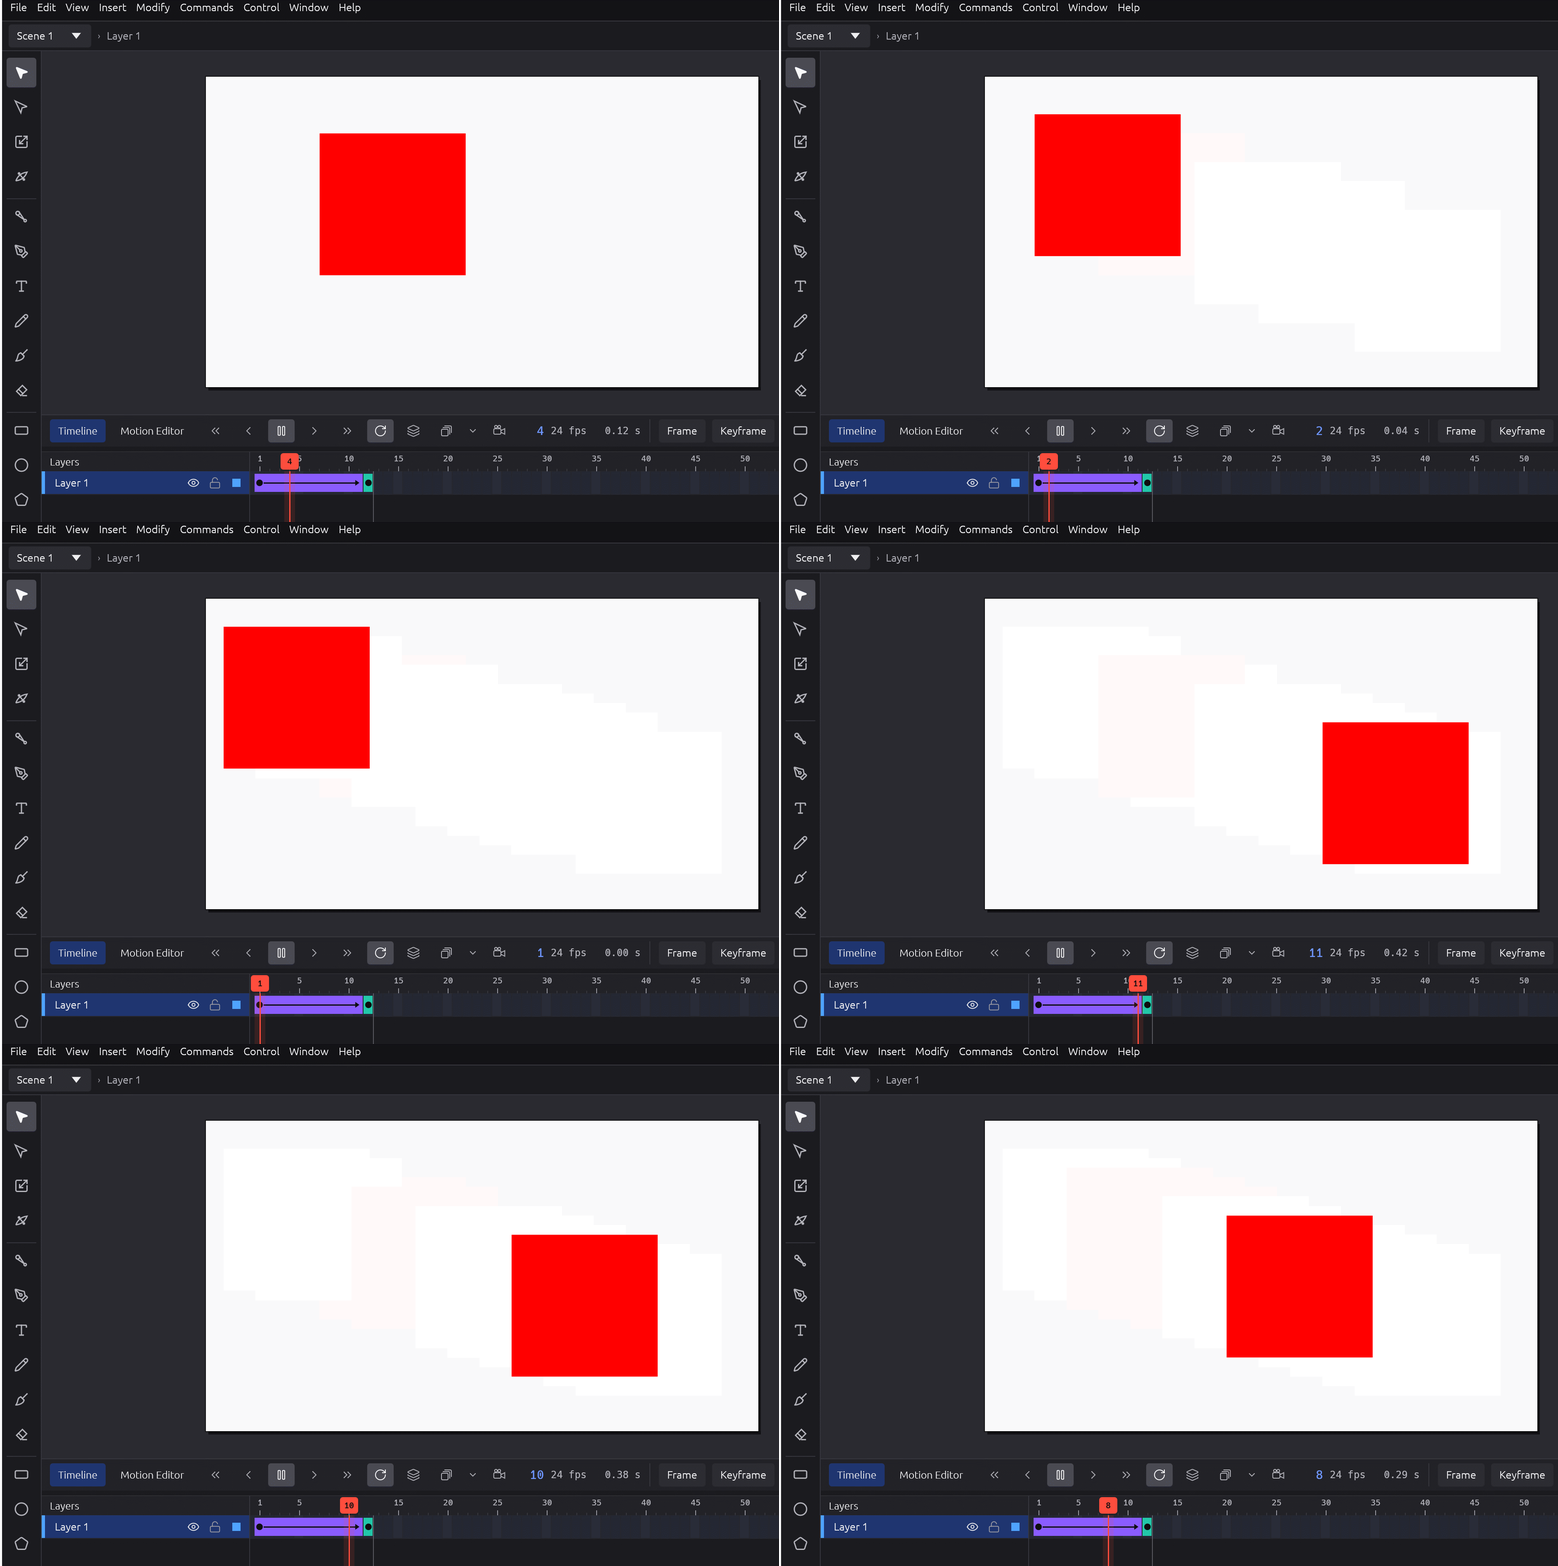
Hooray! We’ve offshored our in-betweening work to AniCraft!
Try experimenting with the Symbol Instance’s position, rotation, scale, and colour effect (check the Properties panel) to see the different parameters AniCraft can interpolate between.
Deleting Keyframes
Section titled “Deleting Keyframes”To delete a Keyframe, select it and press SHIFT + F6.
Next: Frame-by-frame Animation