
Getting started
On a Mac, use ⌘ in place of Ctrl, and Option in place of Alt.
1. Install EffectCraft
Section titled “1. Install EffectCraft”The quickest way is ArtCraft Launcher: install it, then press Install on EffectCraft’s card. To download EffectCraft on its own, see Install and update.
2. Open EffectCraft
Section titled “2. Open EffectCraft”EffectCraft opens on the Home screen. From here you can start a New Composition, Open Demo Project, Import Footage…, start New from Template, or open a recent project.
To look around before you make anything, choose Open Demo Project. It has an animated title and a 3D scene.
3. Make a composition
Section titled “3. Make a composition”- Choose Composition › New Composition… (Ctrl+N), or New Composition on the Home screen.
- Type a Composition Name.
- Pick a Preset, such as
HDTV 1080 24orUHD 4K 25, or set the Width, Height, Frame Rate and Duration yourself. - Choose OK. The composition opens in the Composition panel and the Timeline.
To change these later, choose Composition › Composition Settings….
4. Add a layer
Section titled “4. Add a layer”Choose Layer › New › Text and type your text. Other layers are on the same menu: Solid…, Shape Layer, Null Object, Adjustment Layer, Light… and Camera….
To use your own video or images, choose File › Import › File… (Ctrl+I), or drop the files on the window. Then drag them from the Project panel into the composition.
5. Animate it
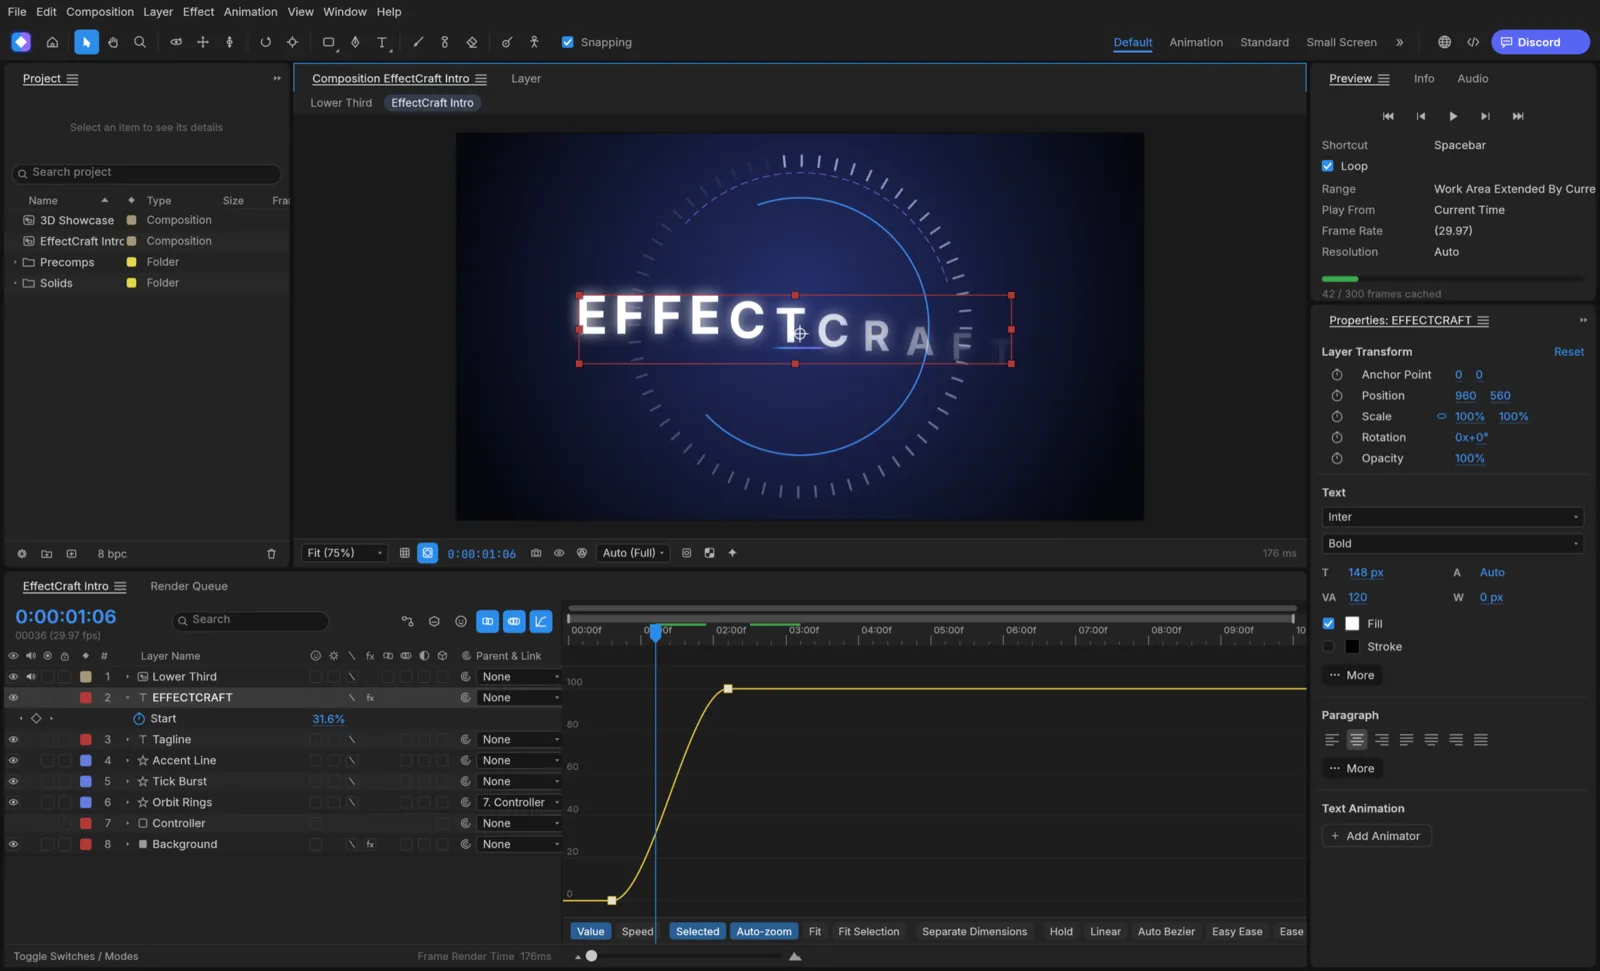
Section titled “5. Animate it”- In the Timeline, twirl the layer open, then open Transform.
- Set a starting Position, for example outside the frame.
- Click the stopwatch beside Position. It records a keyframe at the current time.
- Move the blue current-time indicator later, for example to one second.
- Drag the layer to its final place in the Composition panel. A second keyframe appears by itself.
- Select both keyframes and press F9 (Easy Ease), so the layer glides in and settles.
- Press Space to play it. Press it again to stop.
6. Add an effect
Section titled “6. Add an effect”Select the layer, then choose an effect from the Effect menu, for example Effect › Blur & Sharpen › Gaussian Blur. Or open Window › Effects & Presets (Ctrl+5), search for the effect, and double-click it.
The effect’s settings appear in Effect Controls (F3). Each setting has a stopwatch, so you can animate it like any other property.
7. Save
Section titled “7. Save”Choose File › Save (Ctrl+S). EffectCraft saves an .ecproj project file.
8. Render a video
Section titled “8. Render a video”- Select the composition and choose Composition › Add to Render Queue (Ctrl+M).
- In the Render Queue, twirl the item open. Click Output Module to pick a format. H.264 (.mp4) is the default.
- Click the file name next to Output To to choose where to save it.
- Choose Render.
Next steps
Section titled “Next steps”- Workflows: footage, image sequences, effects, rendering formats and Lottie.
- Troubleshooting: if EffectCraft doesn’t use your graphics card, or footage goes missing.
Help › In-App Tutorials… has guided tutorials inside the app.