
The Timeline
Before we animate something, let’s explore the AniCraft Timeline.
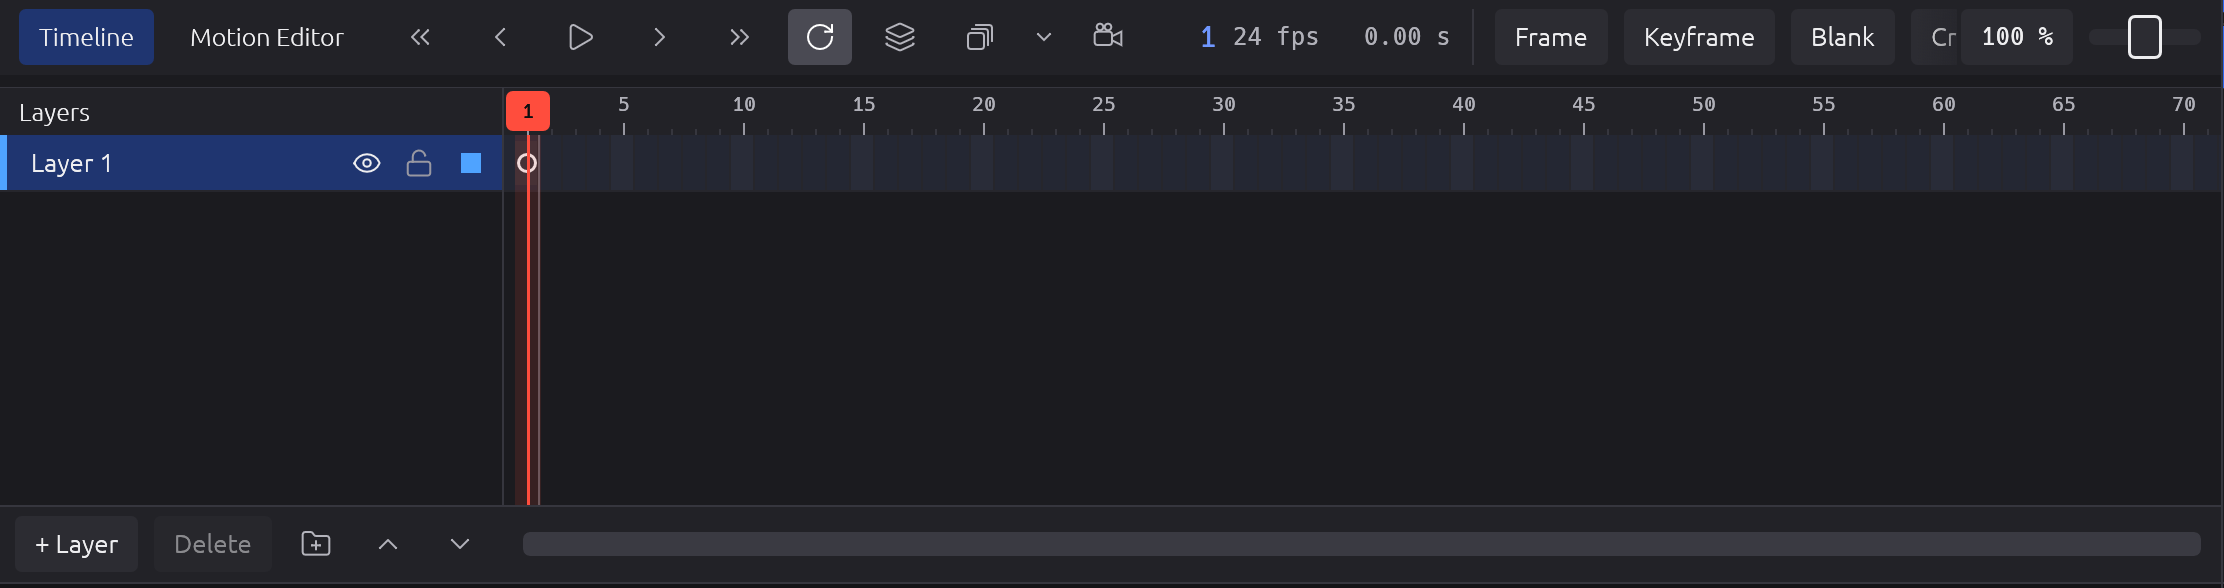
The numbers along the top represent time, counted in frames per second.
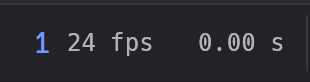
The default setting is 24 fps (frames per second). At this rate, AniCraft will play through 24 frames for each second of time elapsed.
But we have a problem: there AREN’T any frames on the Timeline to play through yet!
Adding Frames
Section titled “Adding Frames”These grey frame cells are places where we COULD have frames.
The most important keyboard keys in AniCraft are these four function keys: F5, F6, F7, and F8. We already saw that F8 converts artwork into a Symbol.
To add Frames to the timeline, click on one of the empty frame cells and either:
- press F5
- right-click and choose Frame
- click the Frame button at the top of the Timeline
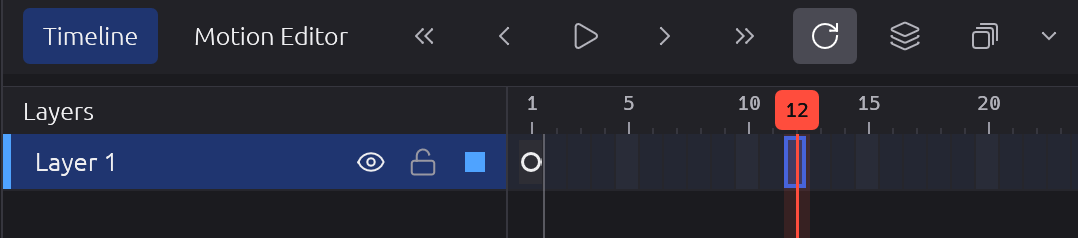

Now, we have a solid bar extending to the frame cell we chose. It’s a little hard to see. If we had any stuff on the Stage, it would be a coloured bar.
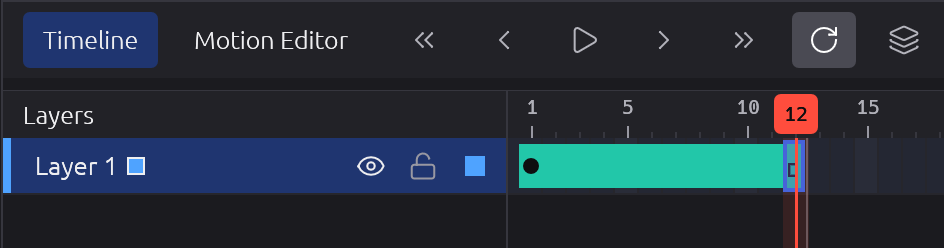
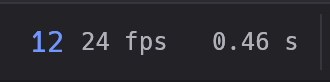
These Frames determine the length of our animation: it’s 12 frames long. So at 24 frames per second, our animation will play for roughly half a second.
Deleting Frames
Section titled “Deleting Frames”If we decided that we have too many frames, we can click anywhere in that Frame range and press SHIFT + F5 to delete Frames.
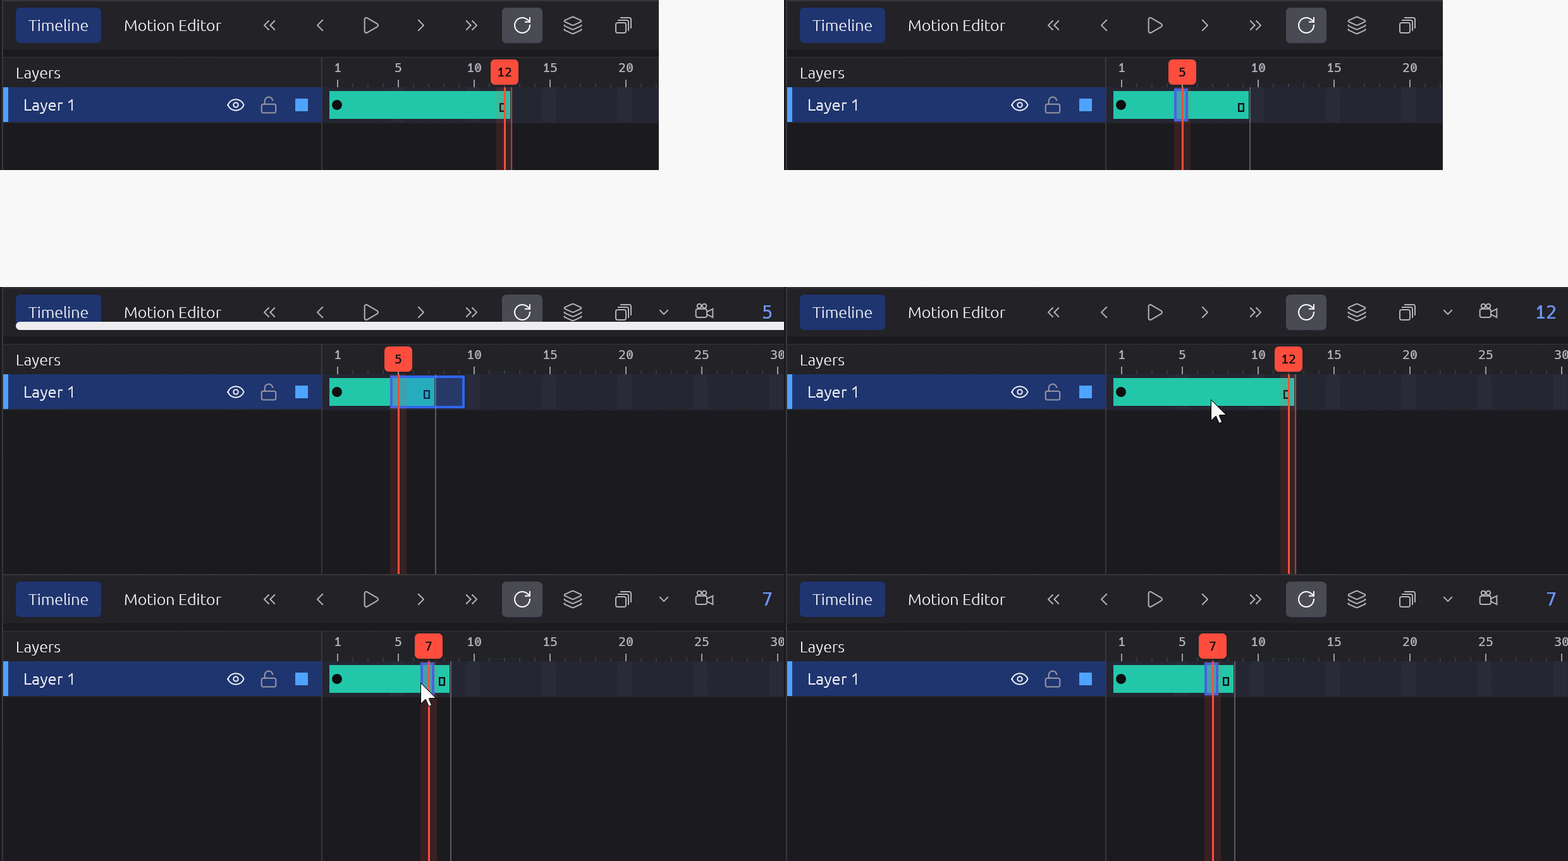
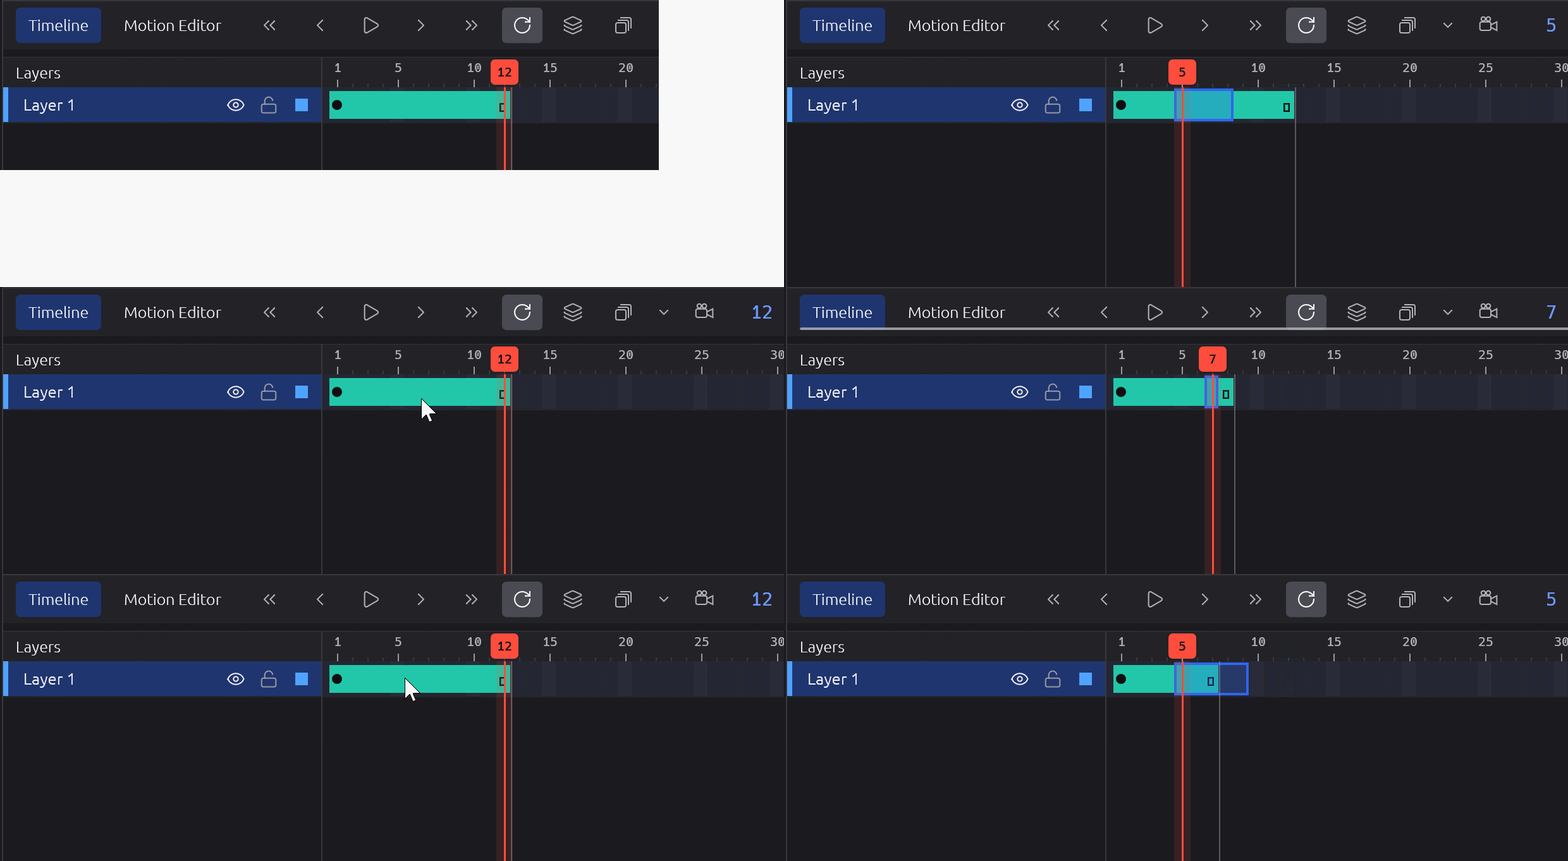
We can also click and drag to select a range of Frames, and press SHIFT + F5 to delete them.
Playback
Section titled “Playback”To play our animation, either:
- press the Enter key
- click the Play button at the top of the Timeline
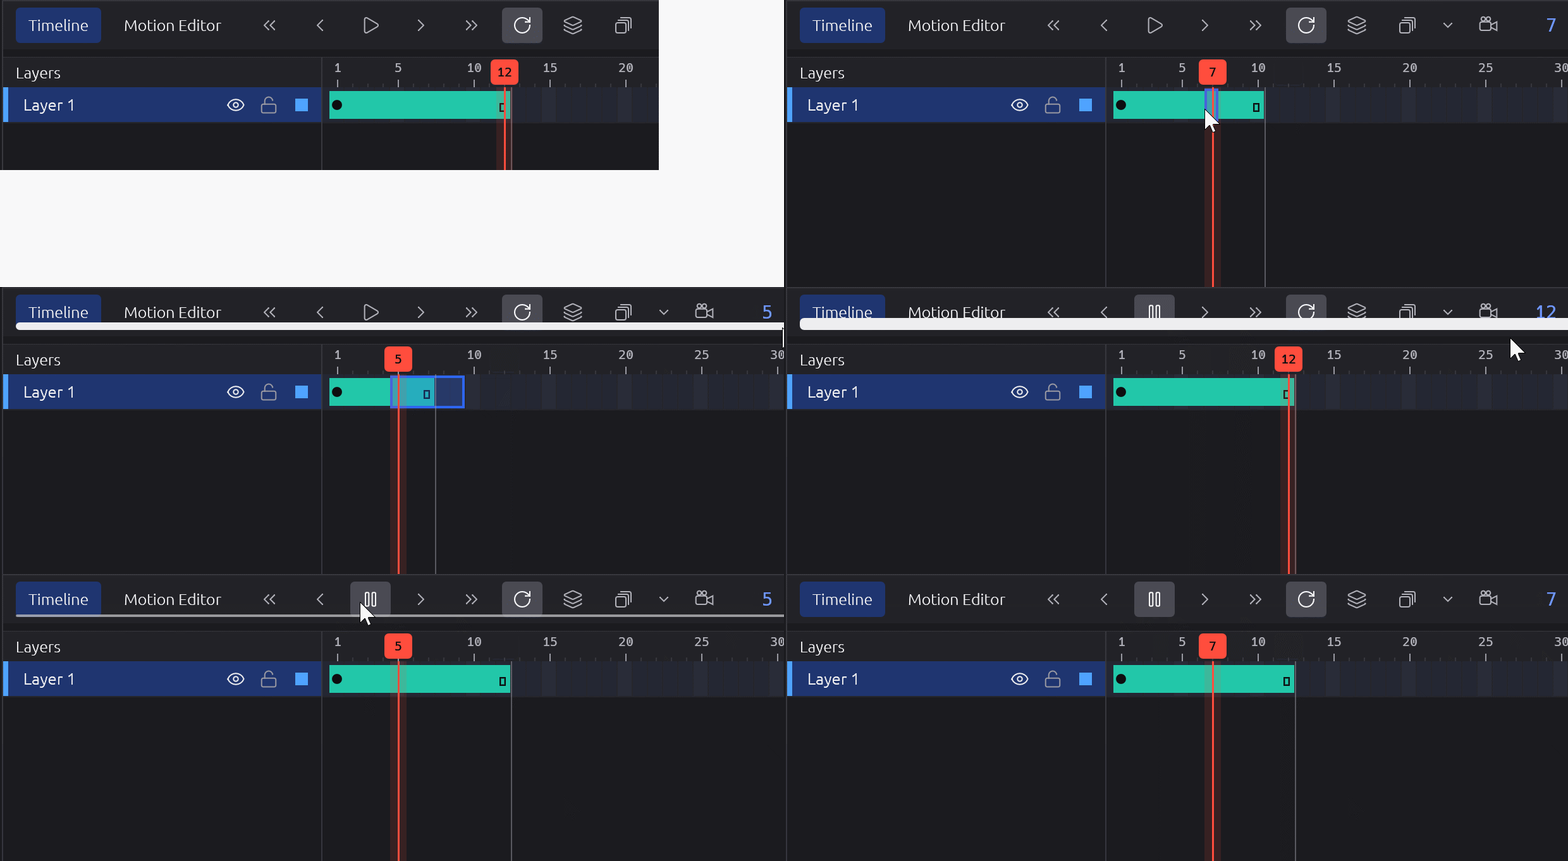
We’ll see the red-box-and-vertical-line cycle through the animation on a loop. But we don’t see anything actually animating yet, because we haven’t given AniCraft anything to animate!
The Playhead
Section titled “The Playhead”That red-box-and-vertical-line is called the Playhead. It shows us which frame in our project is currently being displayed on the Stage. The number in the box is the current frame number.
We can also see the current frame number next to the framerate at the top of the Timeline.
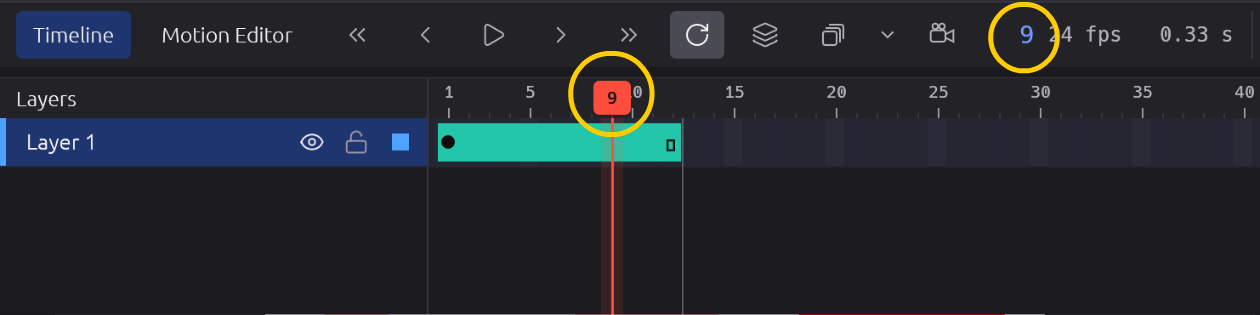
We can click and drag the Playhead to move to a different frame. If we click and drag the Playhead back and forth, we can preview our animation. This is called scrubbing the Timeline.
We can step through our animation frame-by-frame by pressing the < or > key.
Next: Keyframe Animation